 Step by step tutorial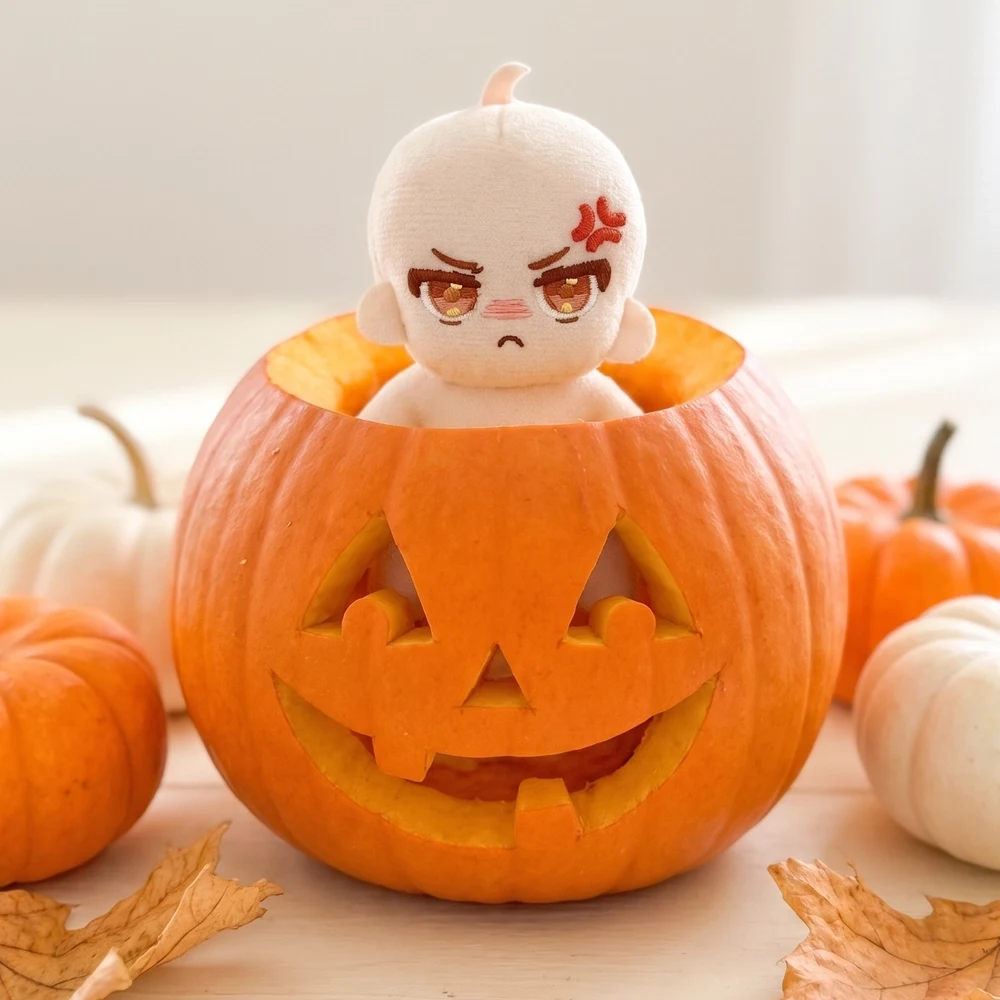
Swipe the main image or thumbnails to see more
Pattern details
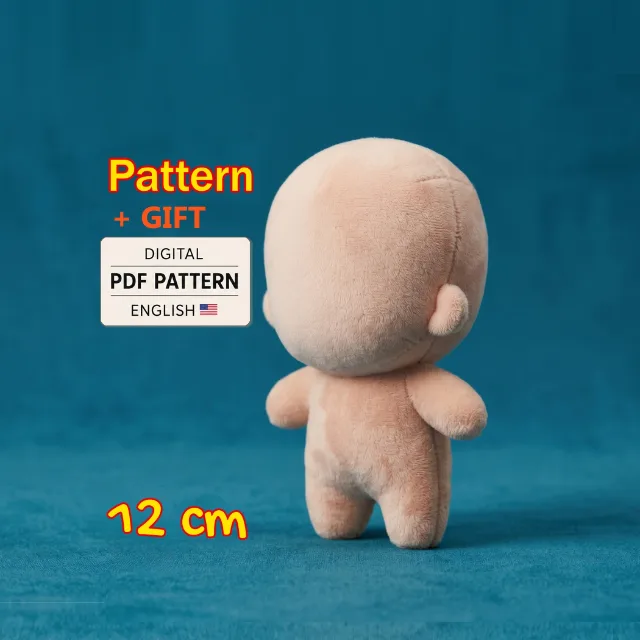
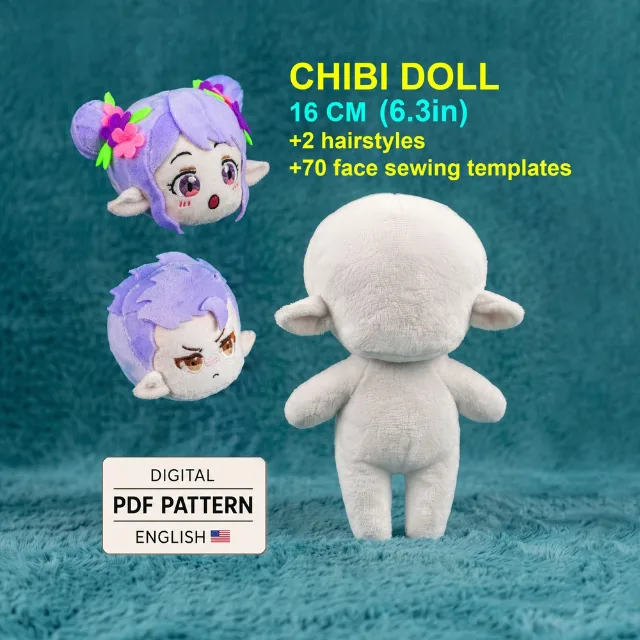
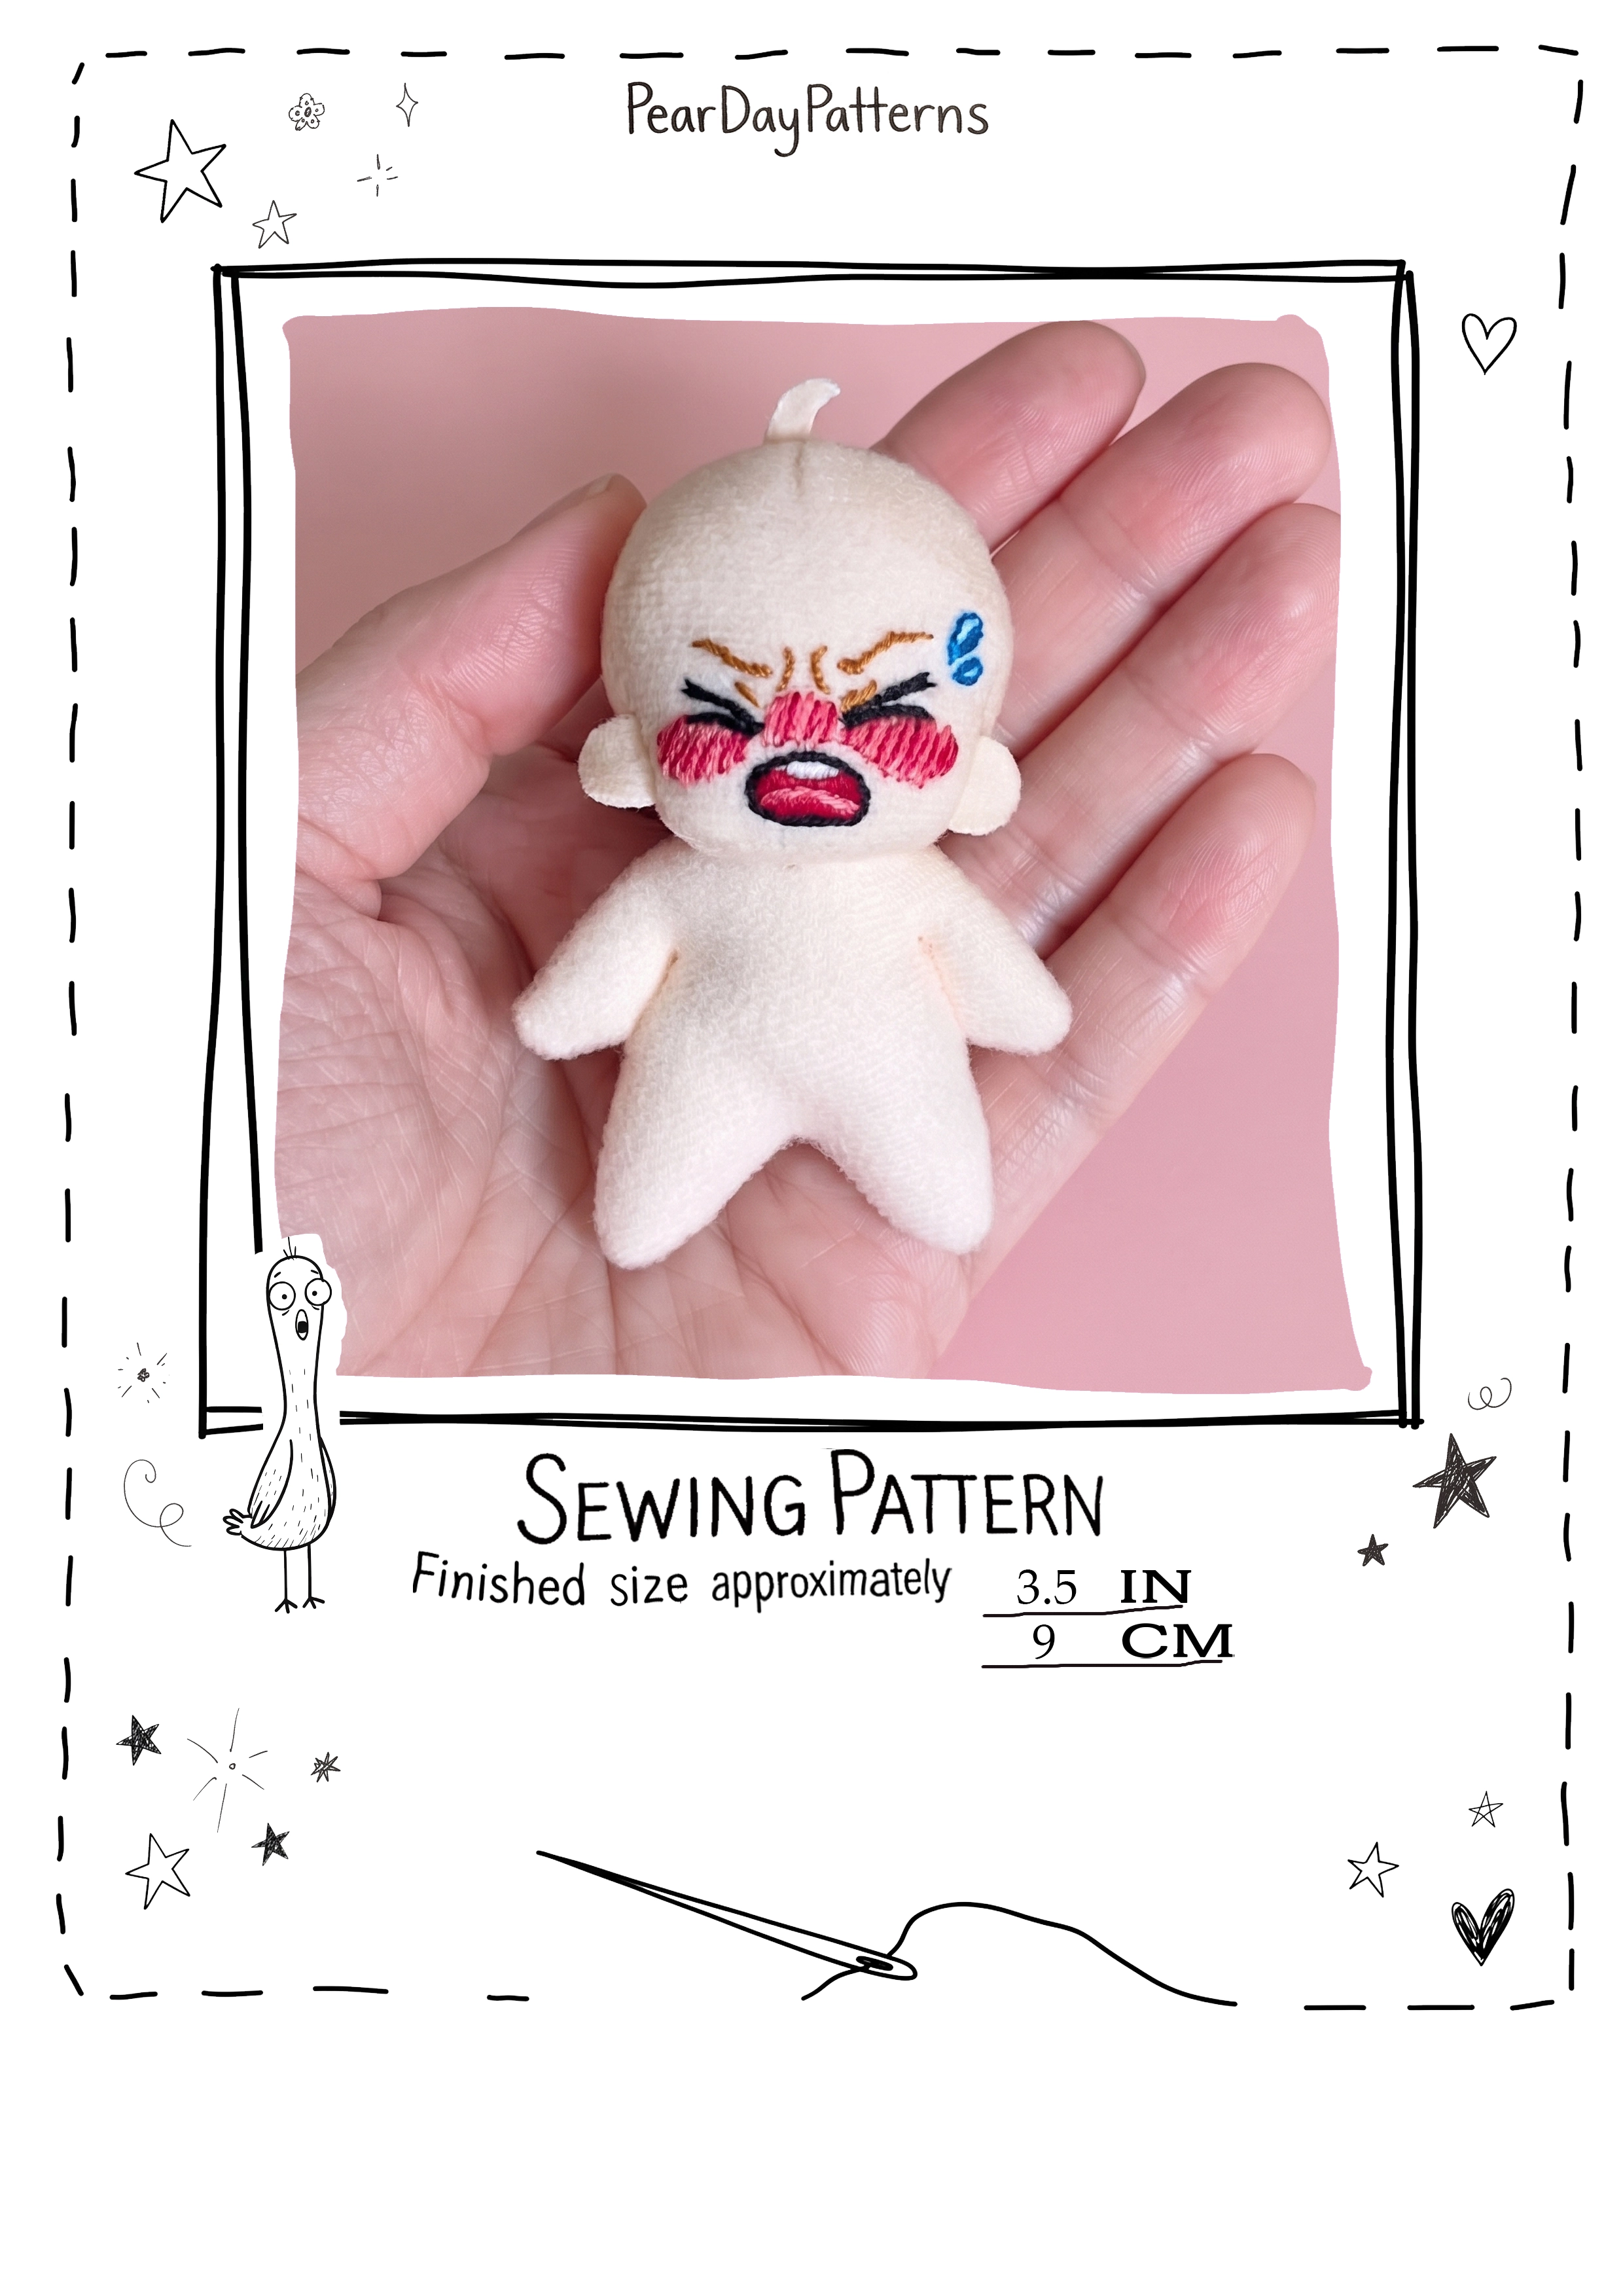
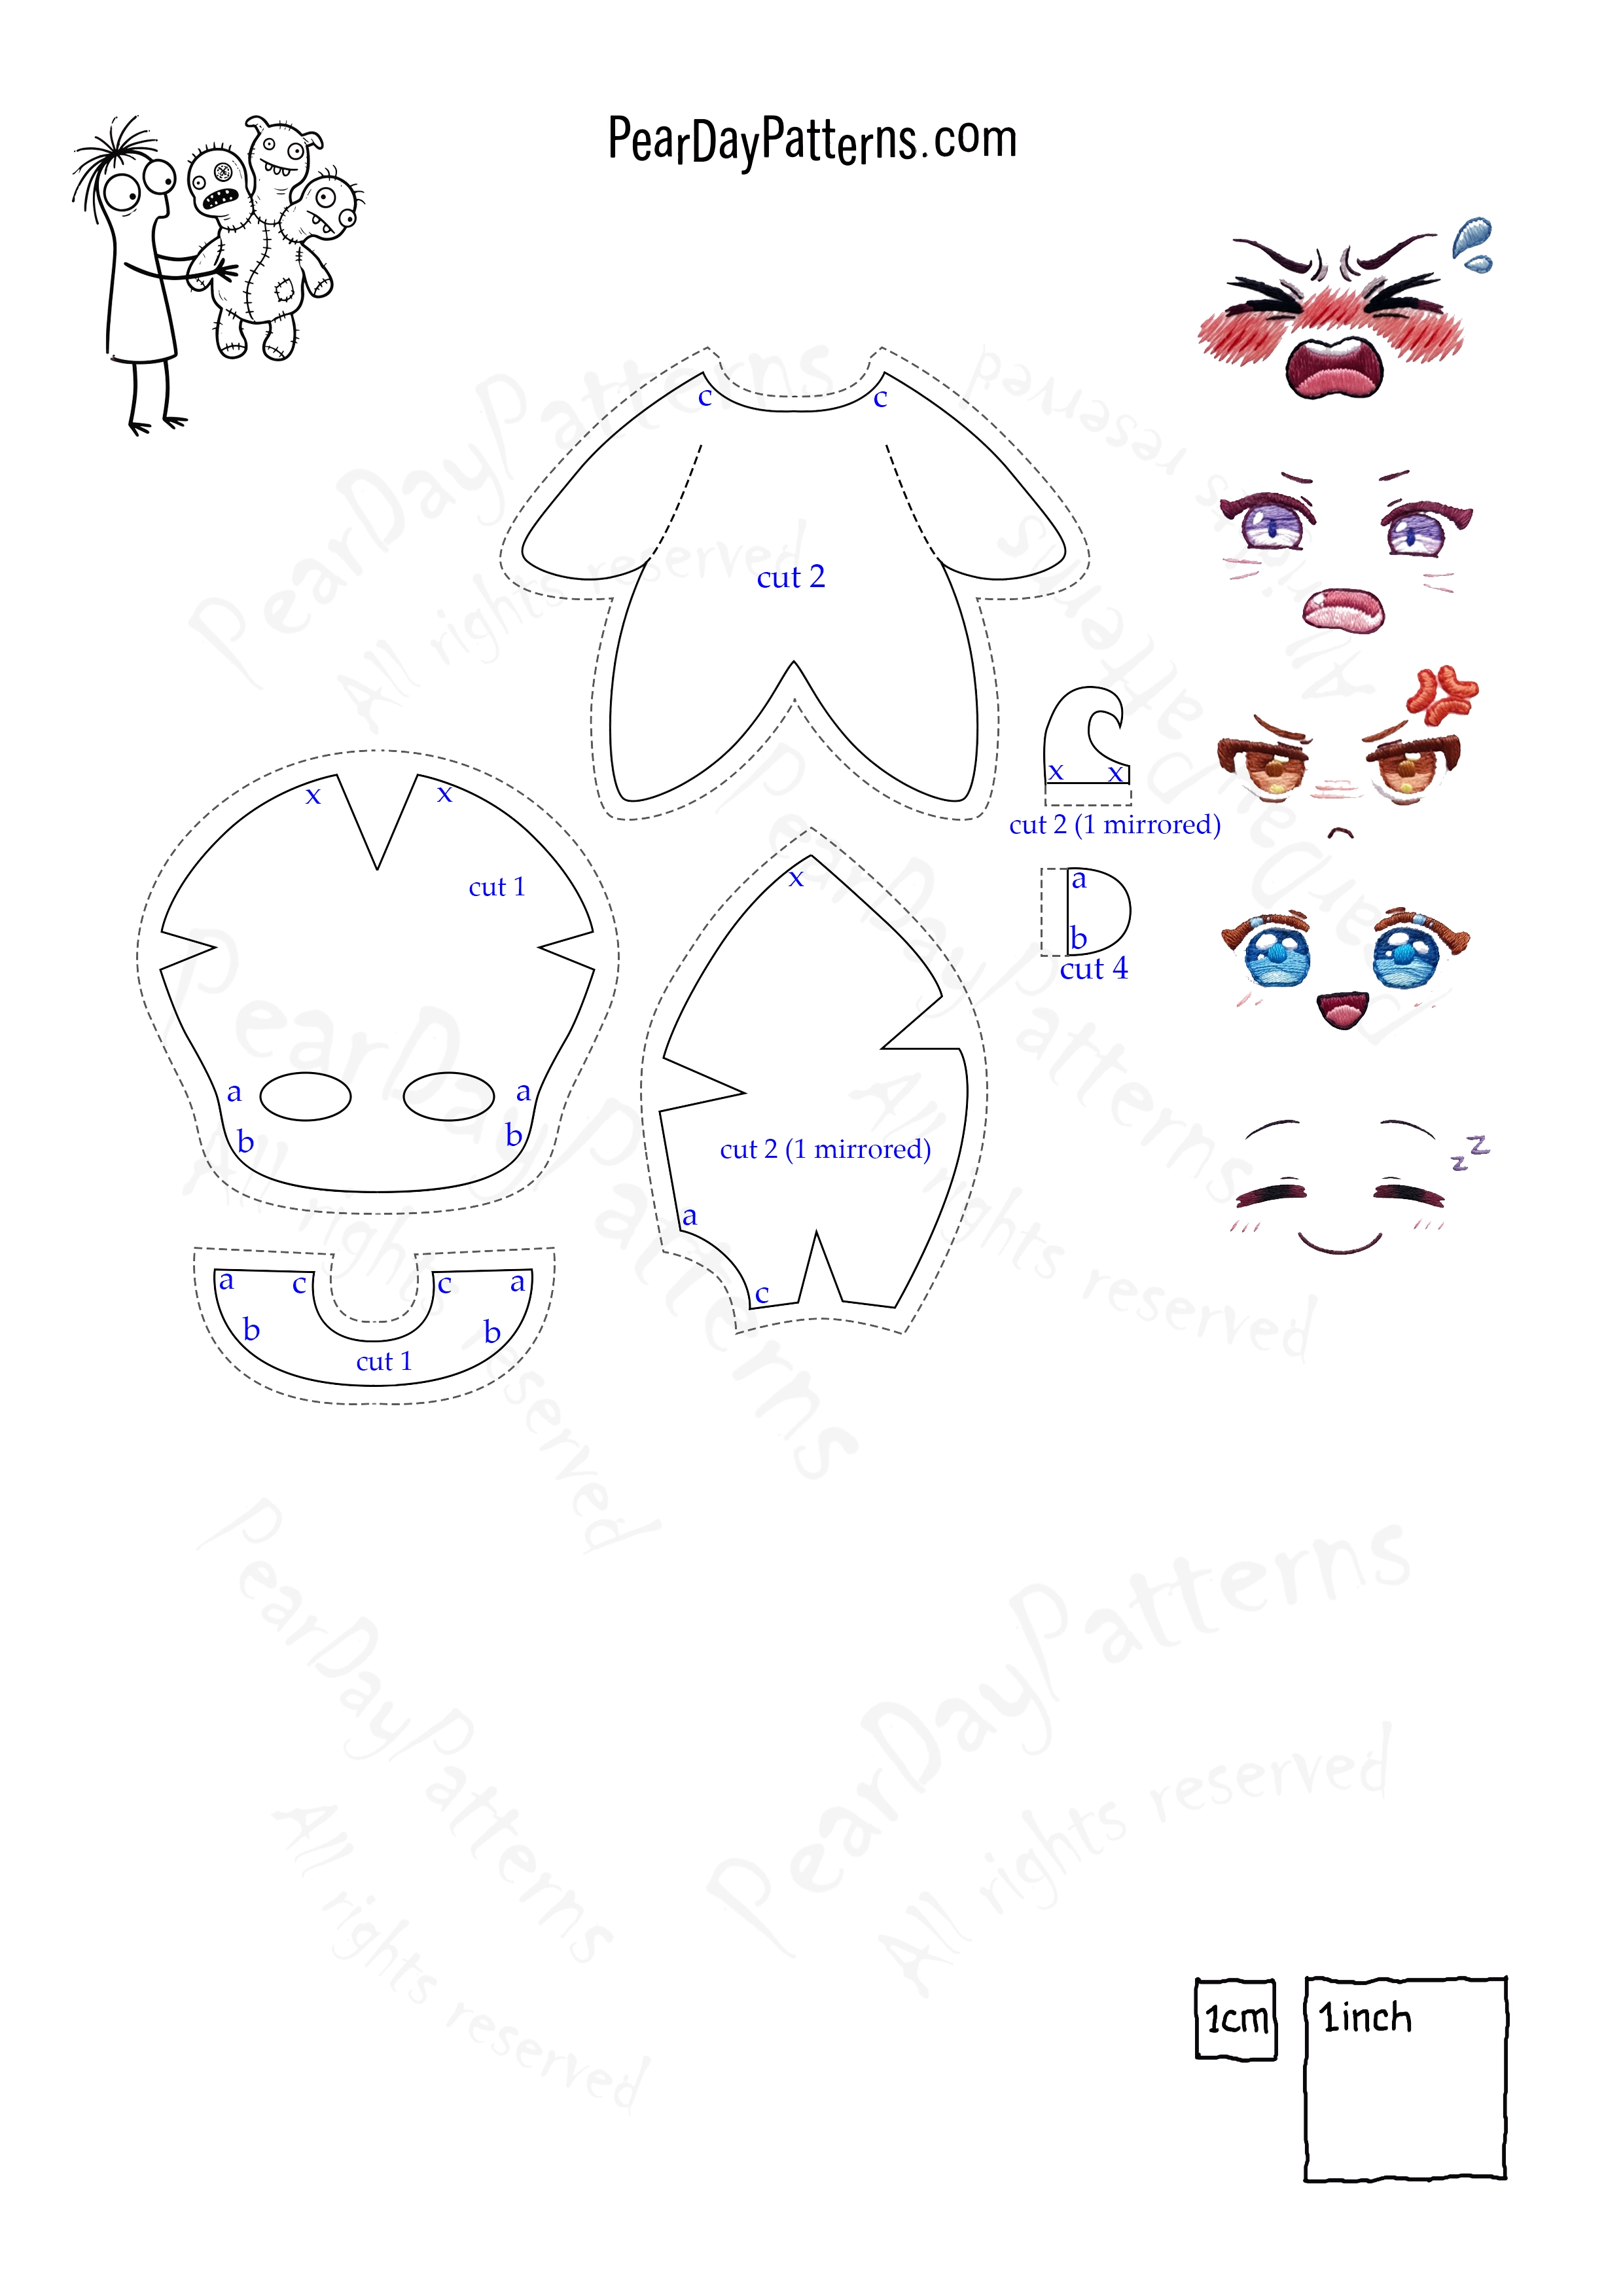
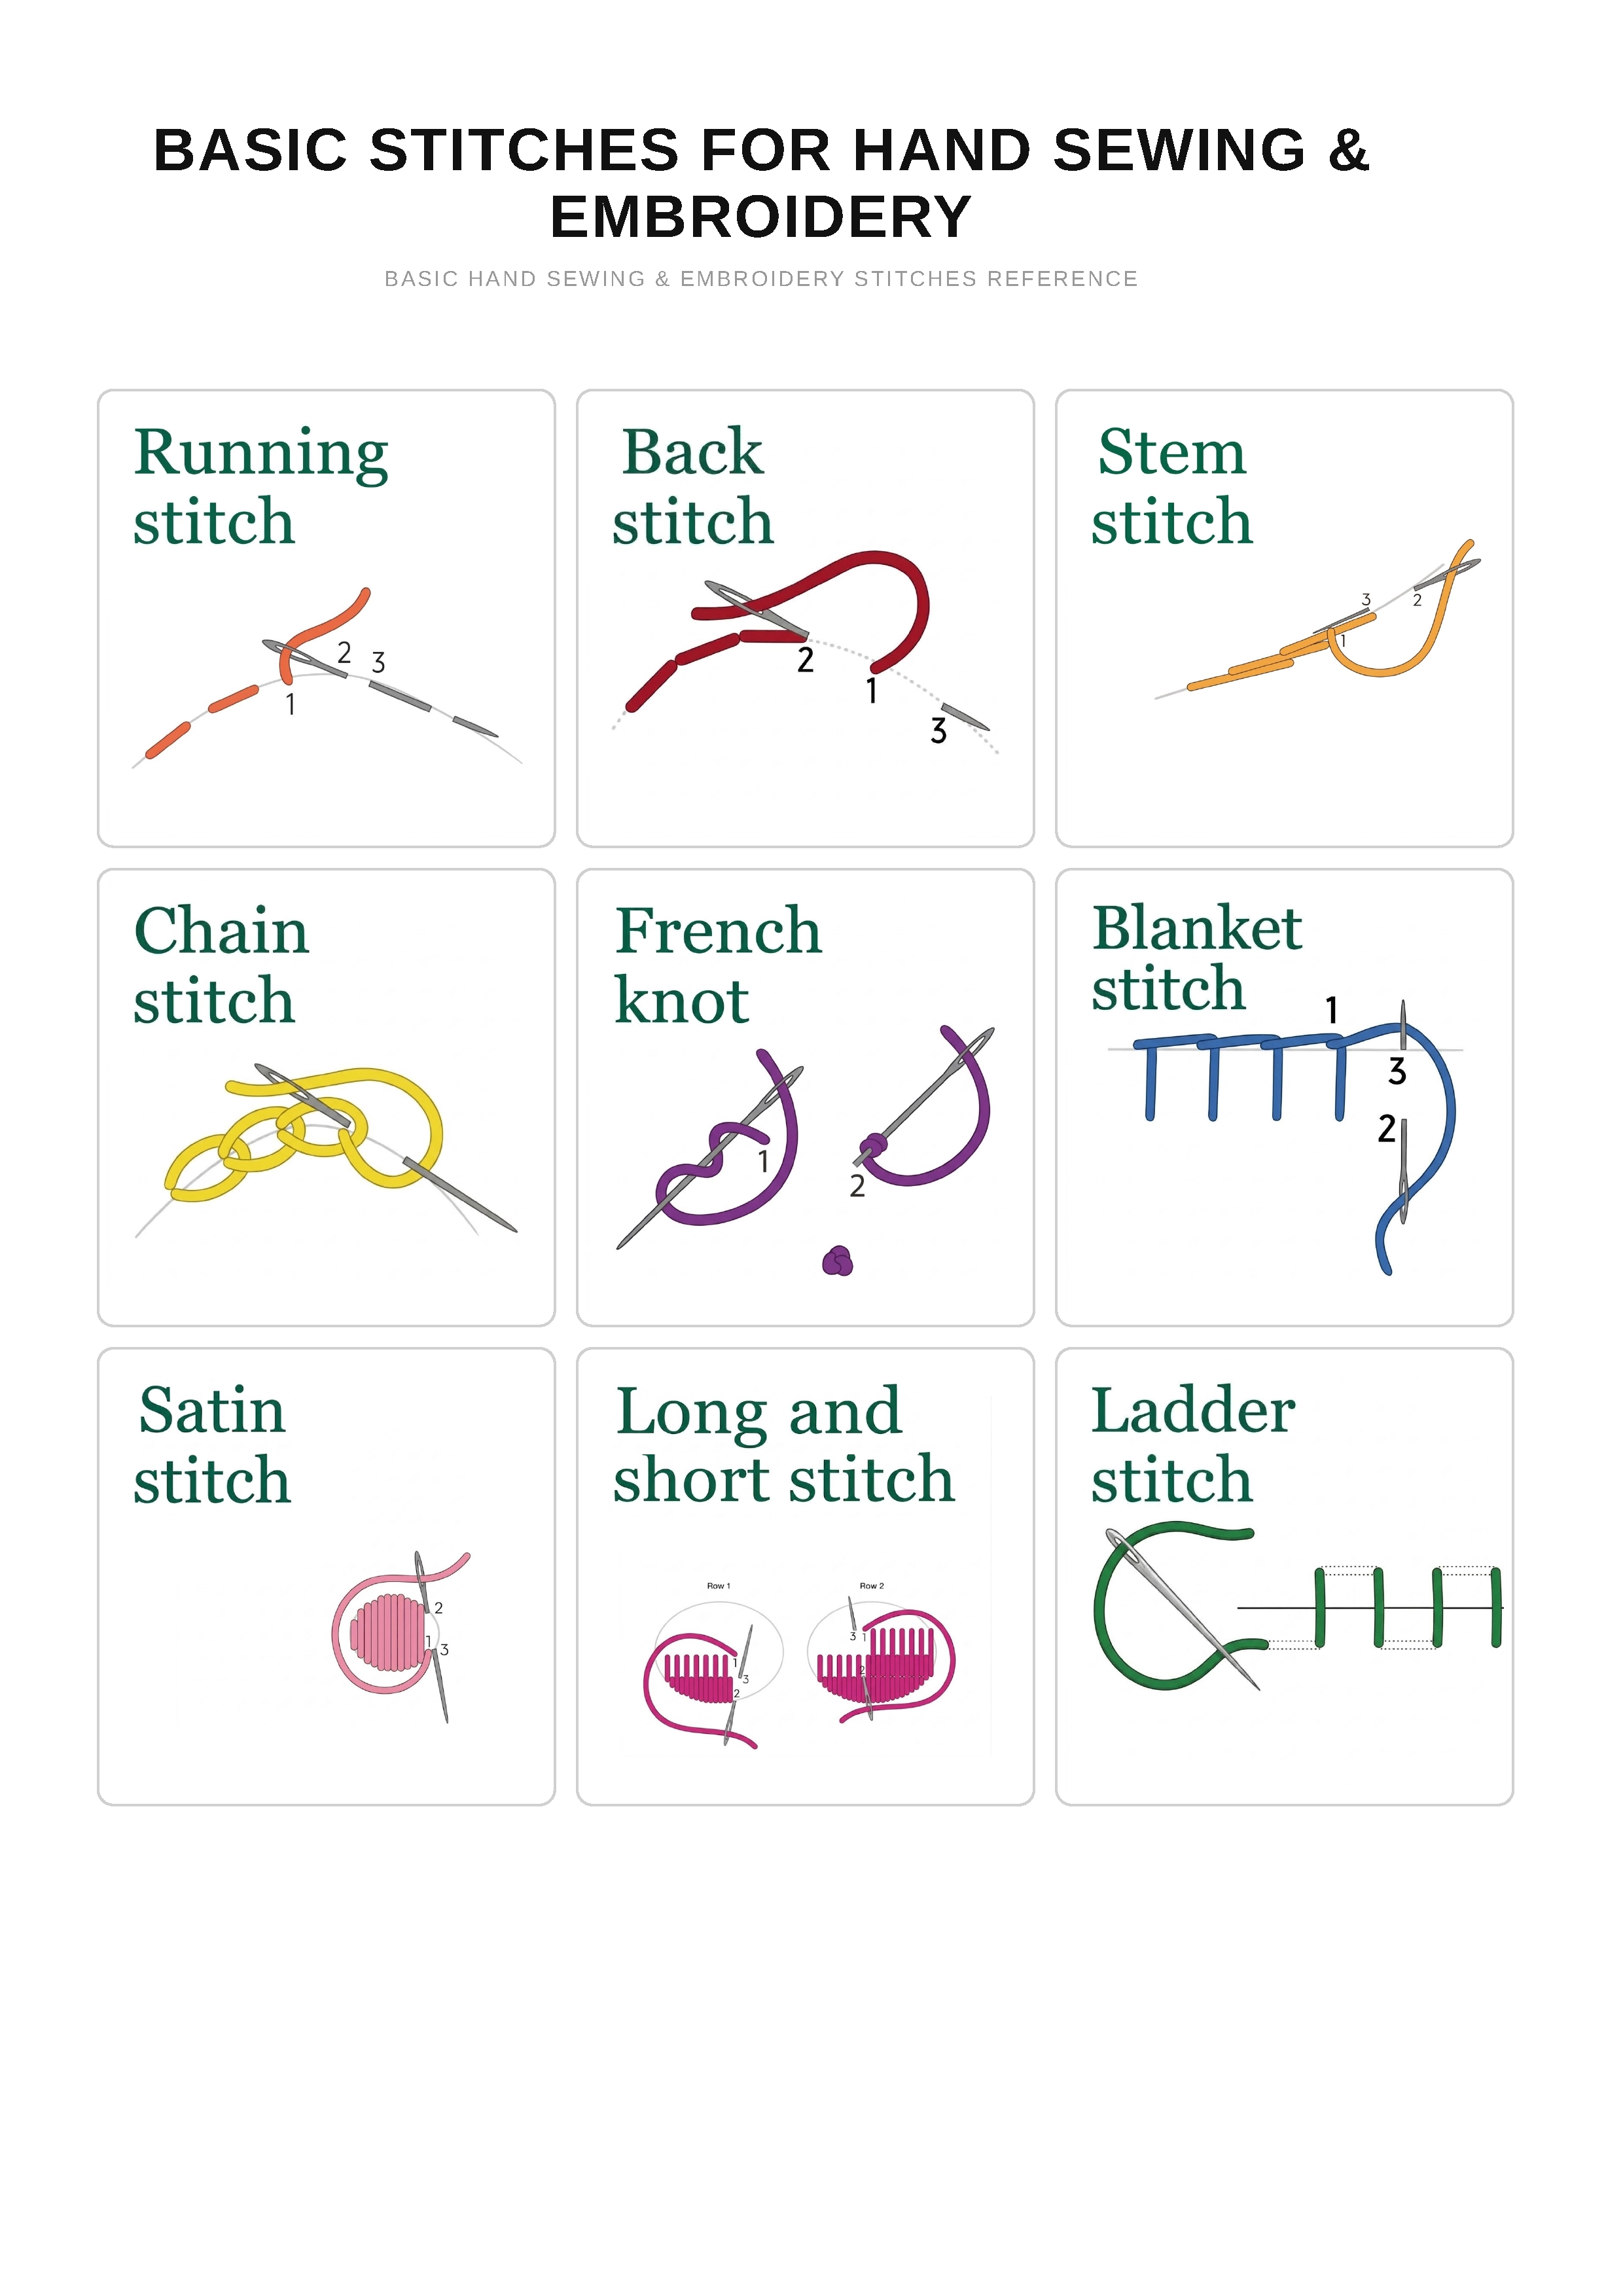
This free PDF sewing pattern shows how to make a mini plush baby doll with a rounded head, simple body, tiny ears and a small top curl. Five face embroidery templates are included, letting you choose from several expressive looks. The PDF includes printable pattern pieces, a materials list and step-by-step instructions covering face embroidery, head assembly, body construction, stuffing and final assembly. A basic hand-sewing and embroidery stitch reference is also included. The finished doll can optionally be turned into a small keychain charm or a Christmas tree ornament by adding a cord or hanging loop.
Free Mini Baby Doll Sewing Pattern – PDF Template
Free
Make a tiny customizable plush baby doll with five embroidered face options, printable pattern pieces and clear photo-guided hand-sewing instructions.
Digital download · PDF patternNo physical item will be shipped.
Free download- Finished size
- Approx. 3.5 in / 9 cmApproximate. Fabric, stuffing and sewing may change the result.
- Files
- 1 PDF · A4
- Language
- English
What you’ll receive
Full-size doll pattern pieces, five face embroidery designs, a materials list, step-by-step sewing photos and a hand-stitch reference. This is a complete free pattern, ready to print on A4 paper. No finished toy or physical materials are included.
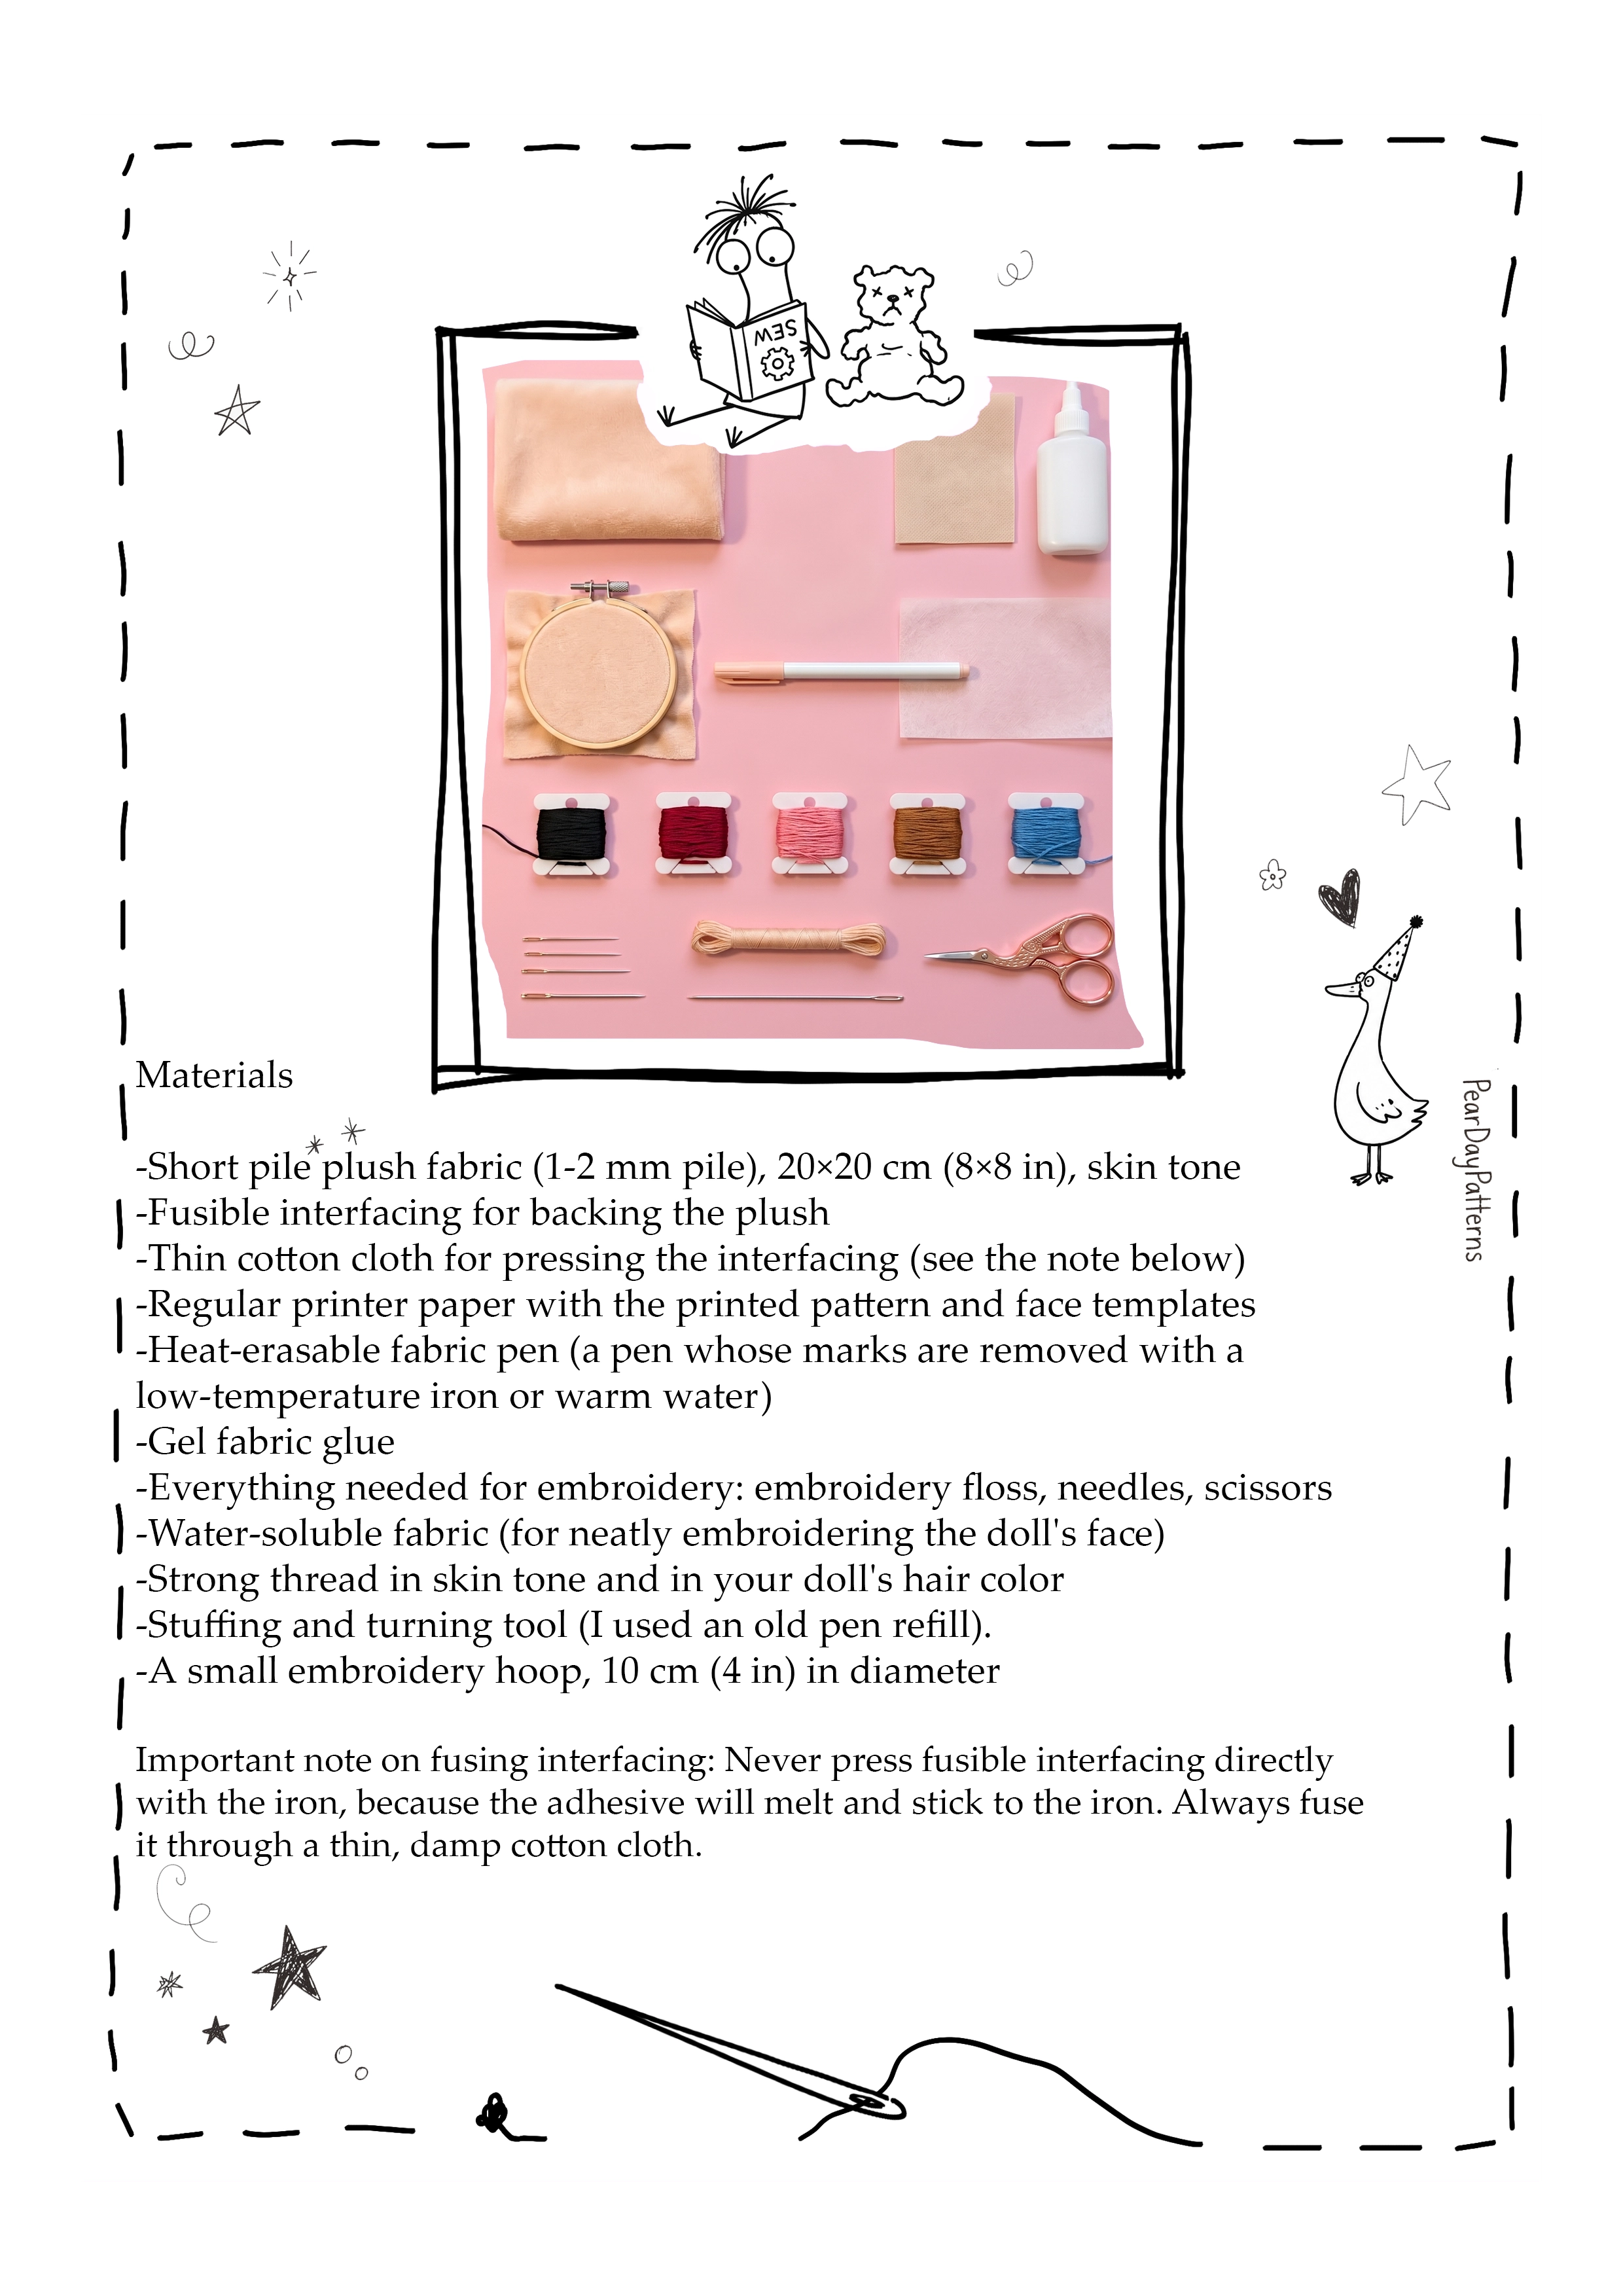
Materials
- Skin-tone short-pile plush fabric (1–2 mm pile), 20 × 20 cm / 8 × 8 in
- Fusible interfacing and a thin cotton pressing cloth
- A4 printer paper for the pattern pieces and face templates
- Heat-erasable fabric pen and gel fabric glue
- Embroidery floss, needles and scissors
- Water-soluble embroidery stabilizer
- Strong sewing thread in skin tone and the chosen hair colour
- Stuffing and a turning / stuffing tool
- Small embroidery hoop, 10 cm / 4 in in diameter
Licence
This free pattern is for personal use only. Finished items made from it may not be sold. The PDF, templates and page images may not be sold, resold or redistributed. To share the pattern, please share this page’s link.
Sewing guide
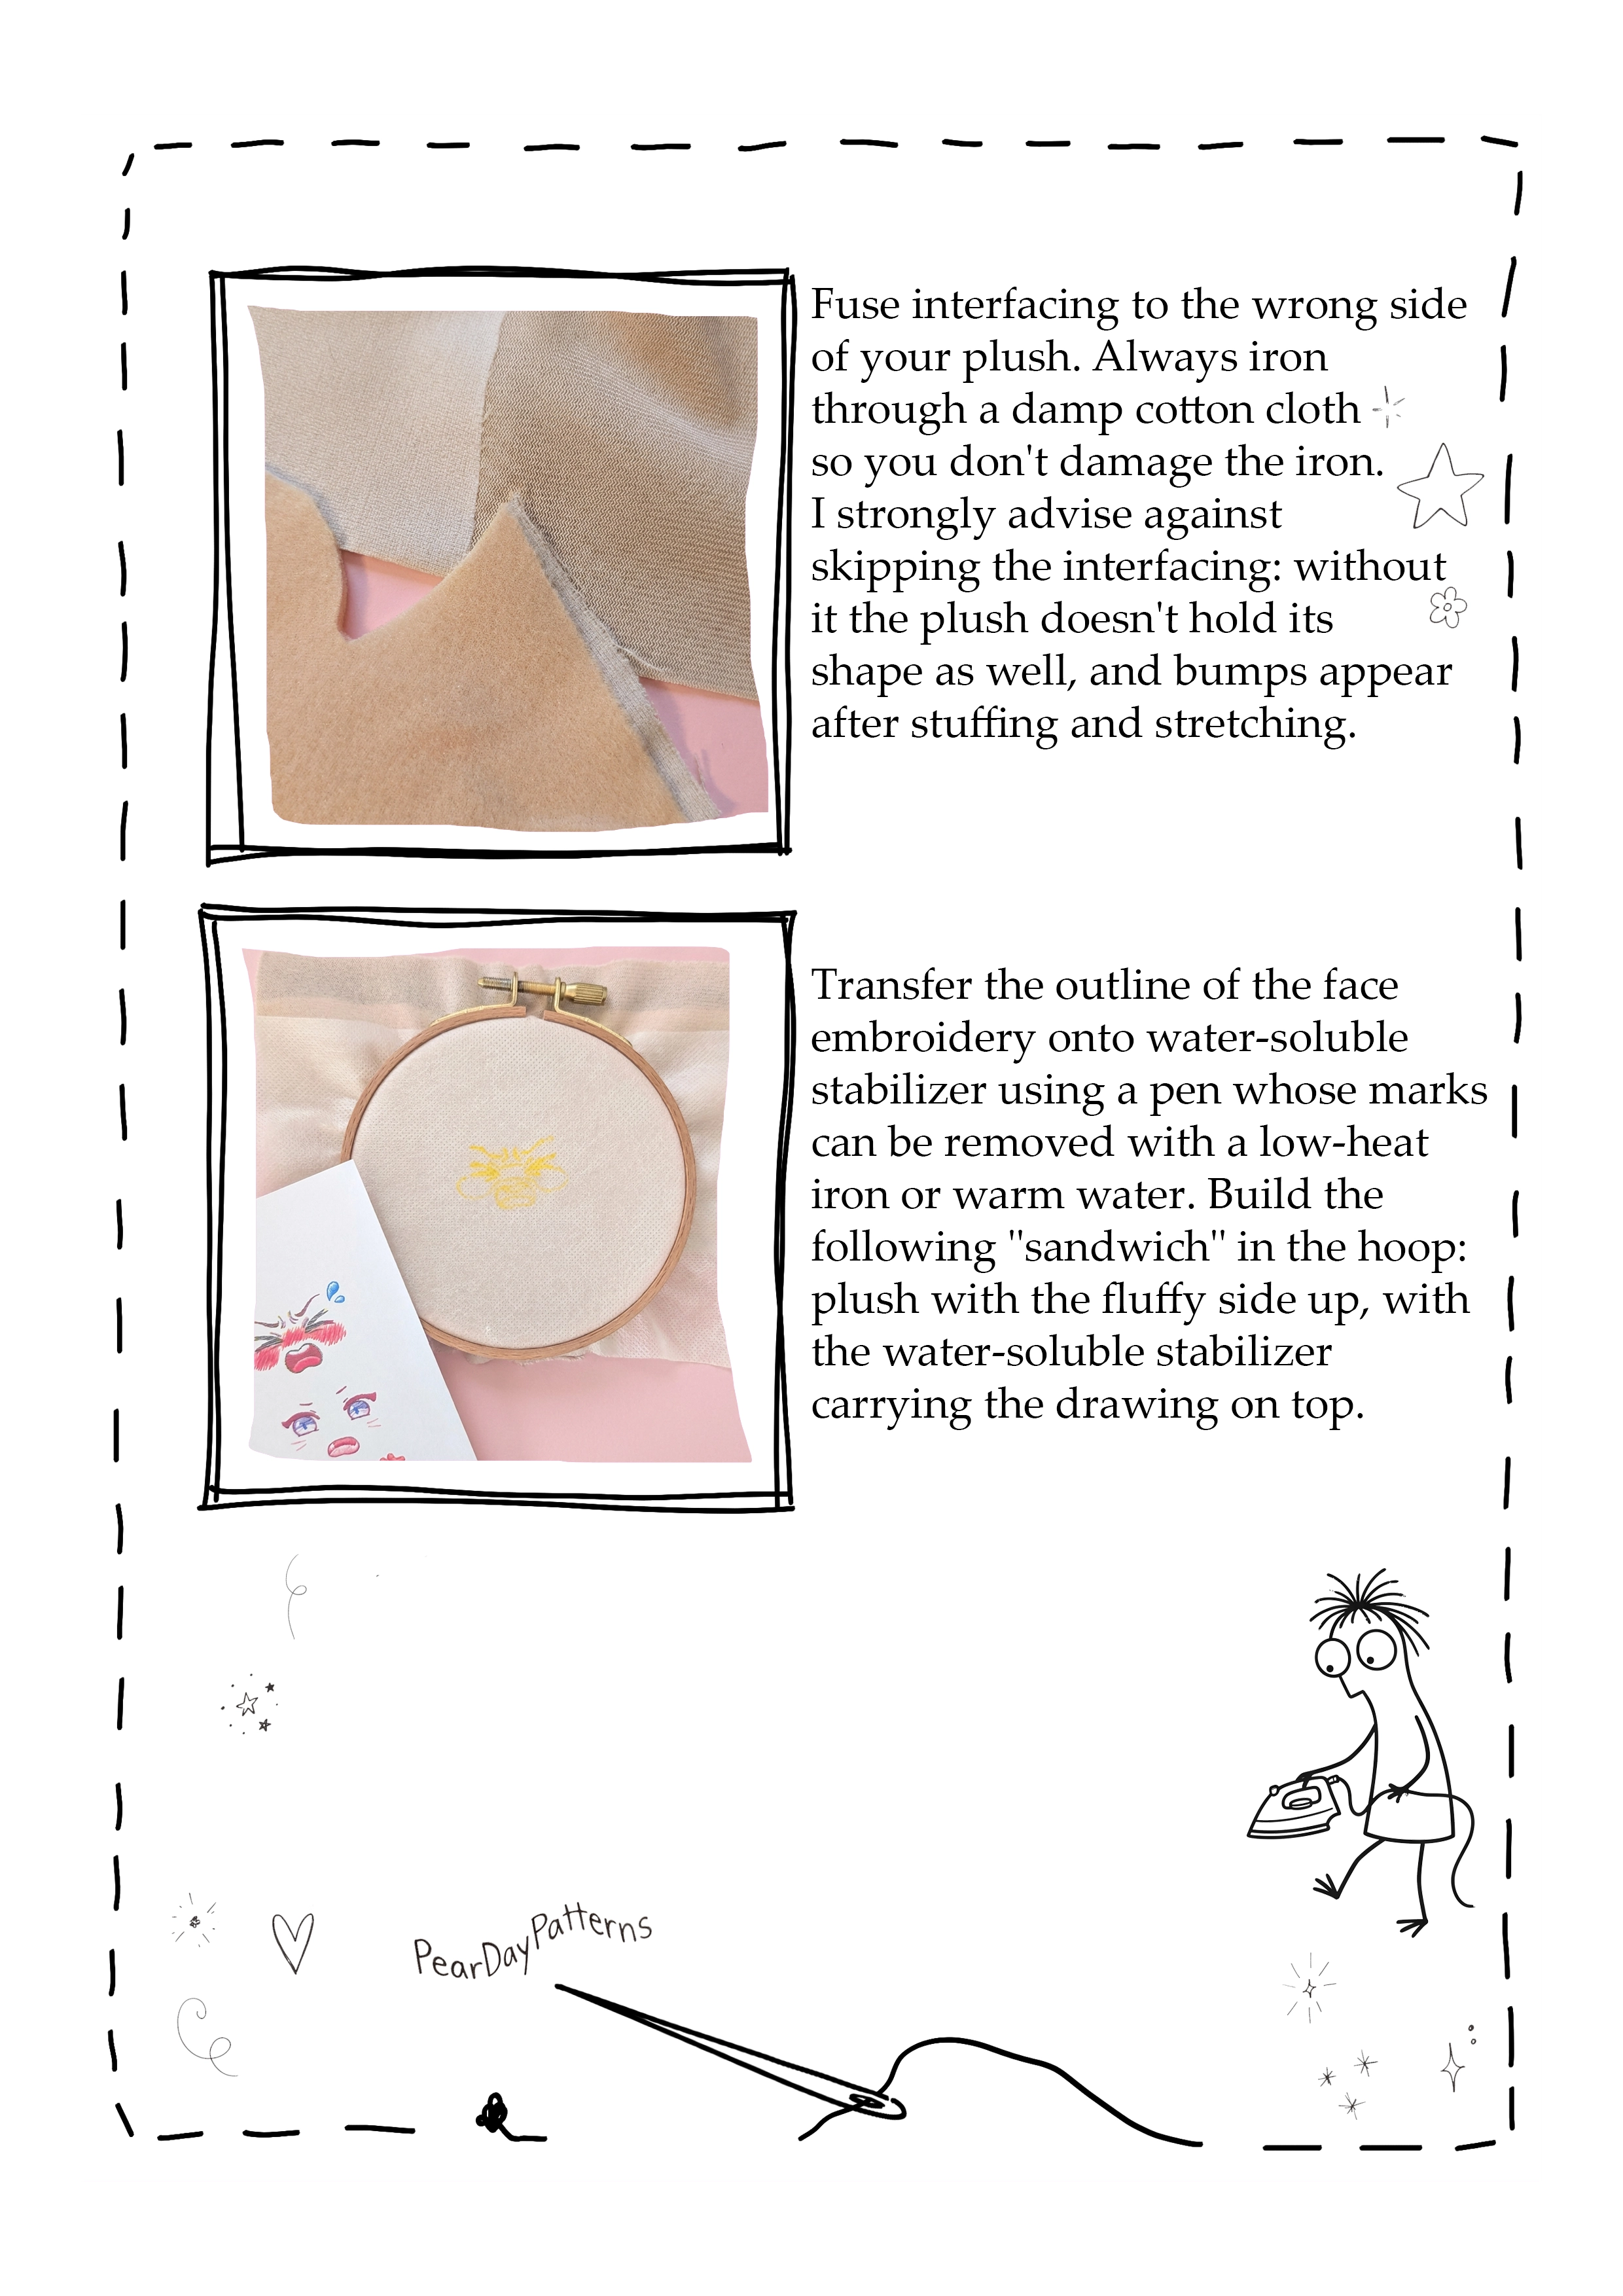
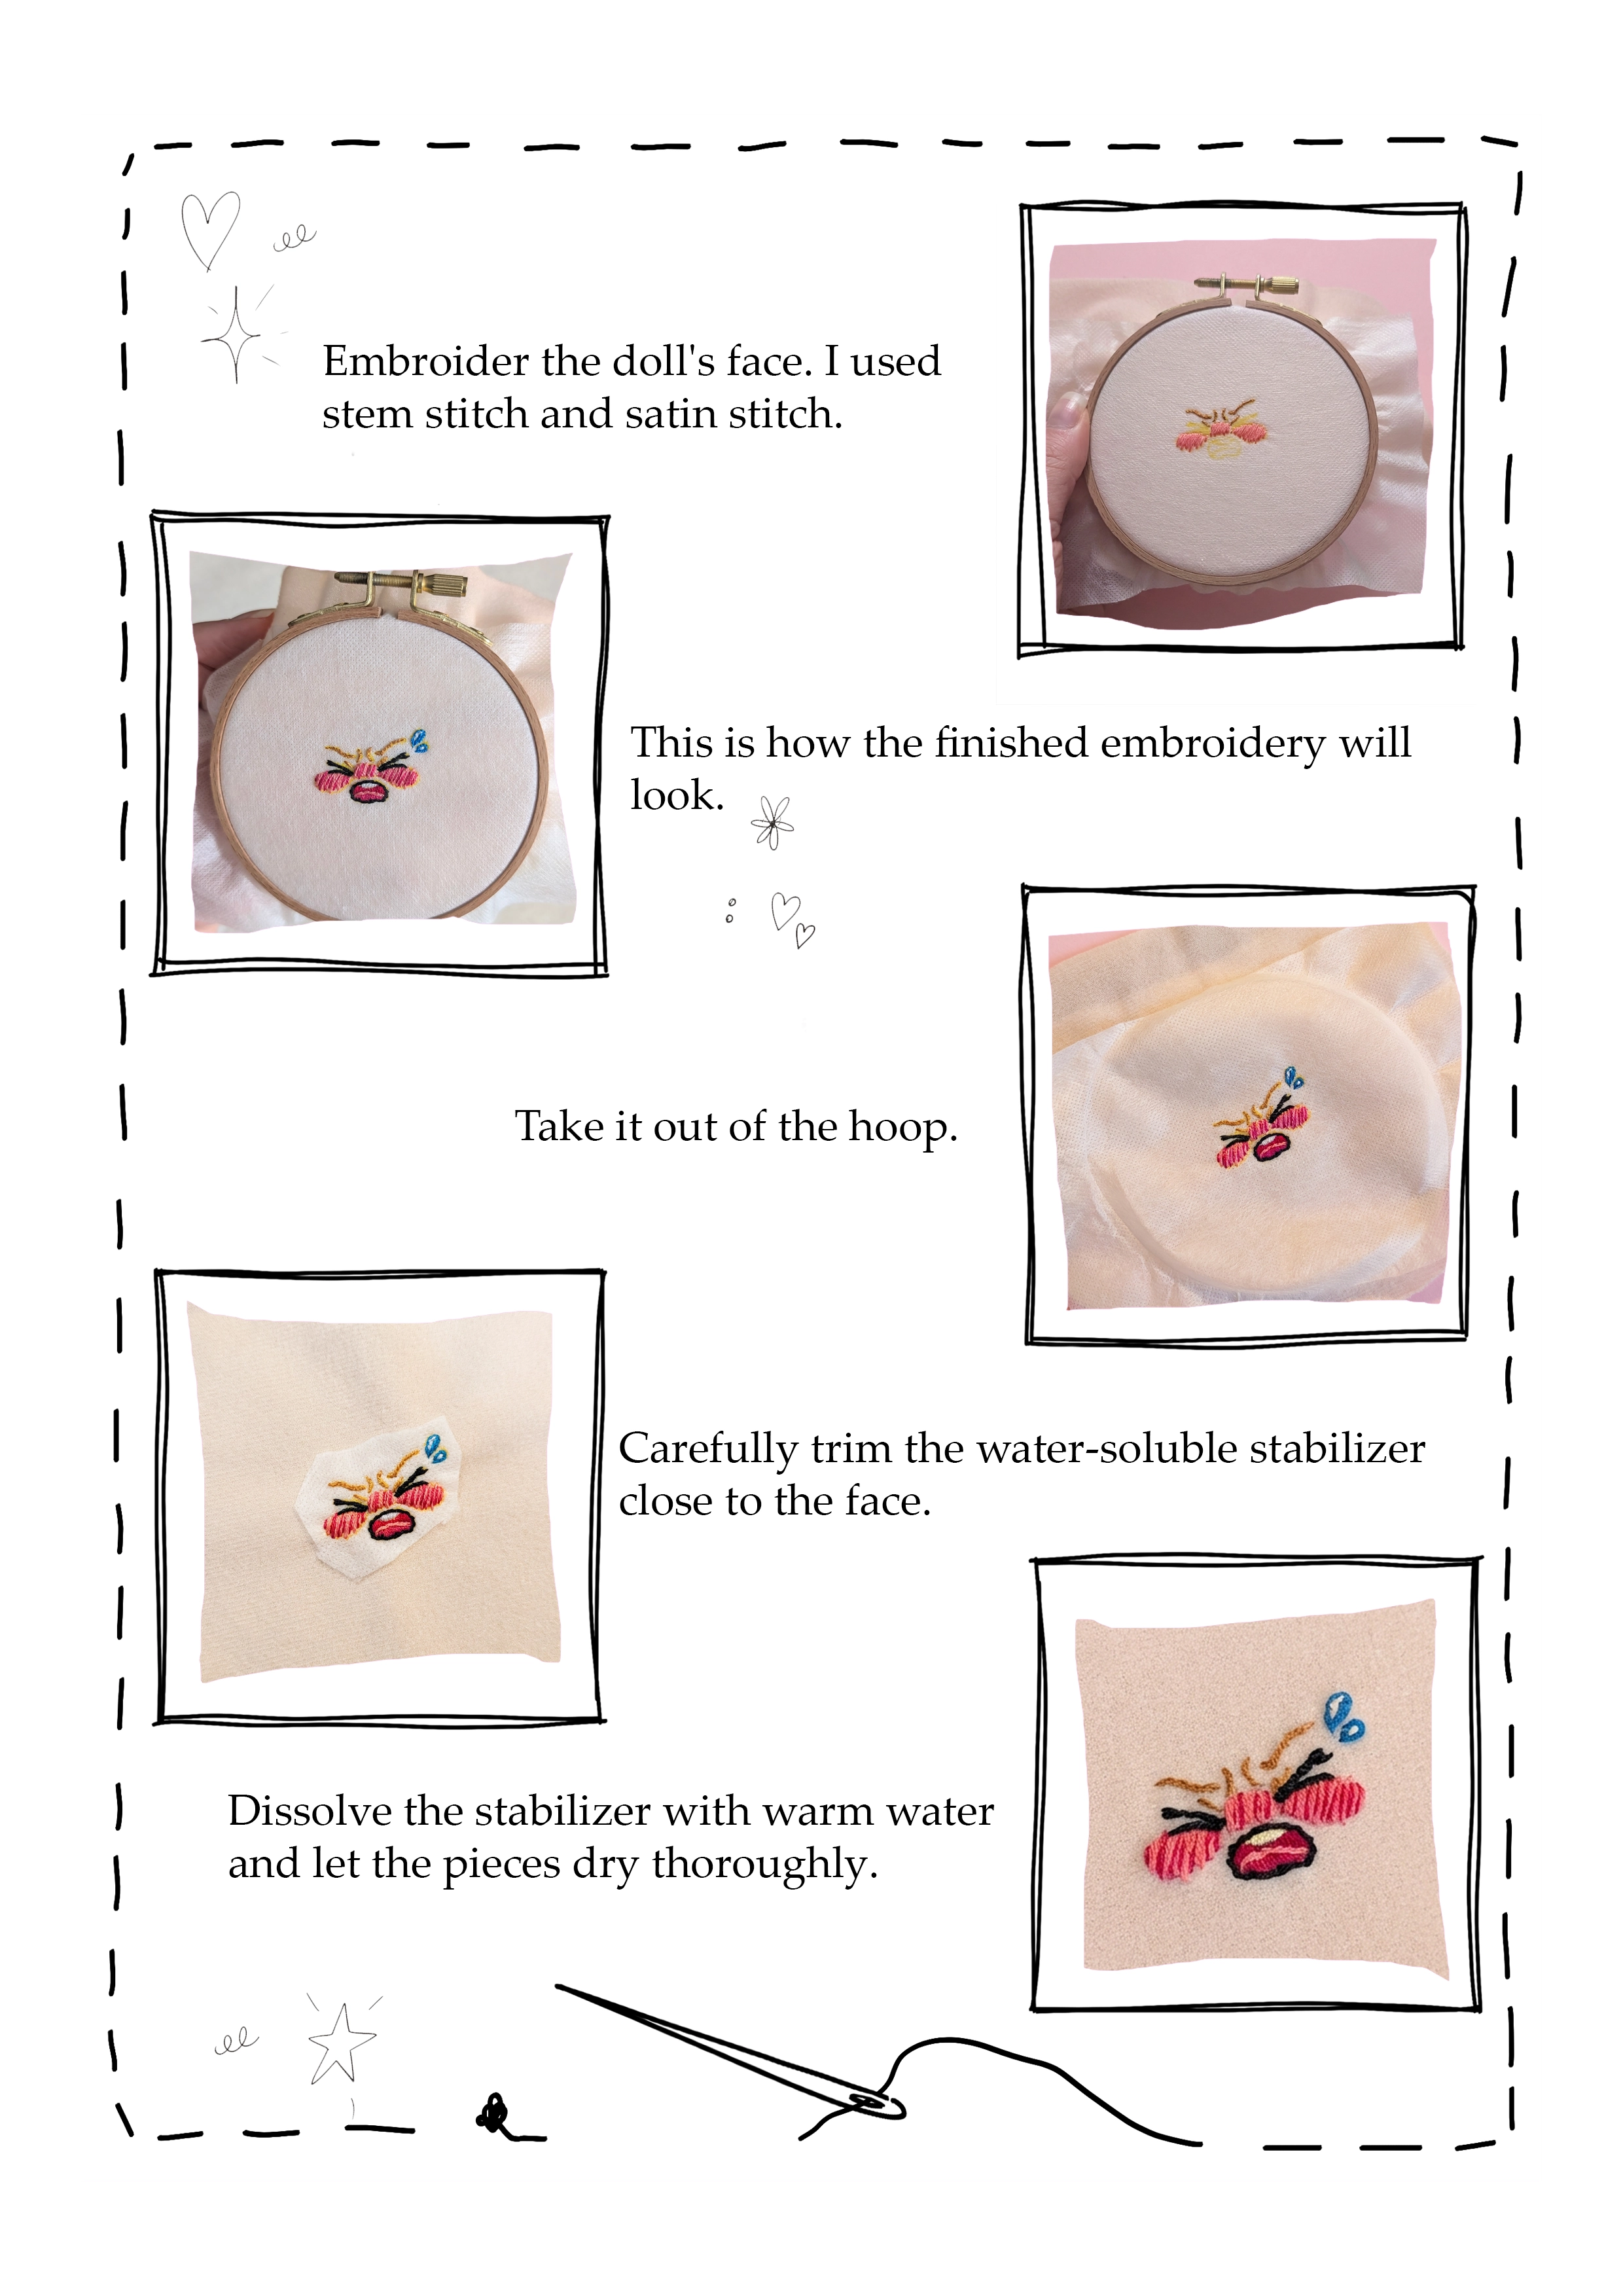
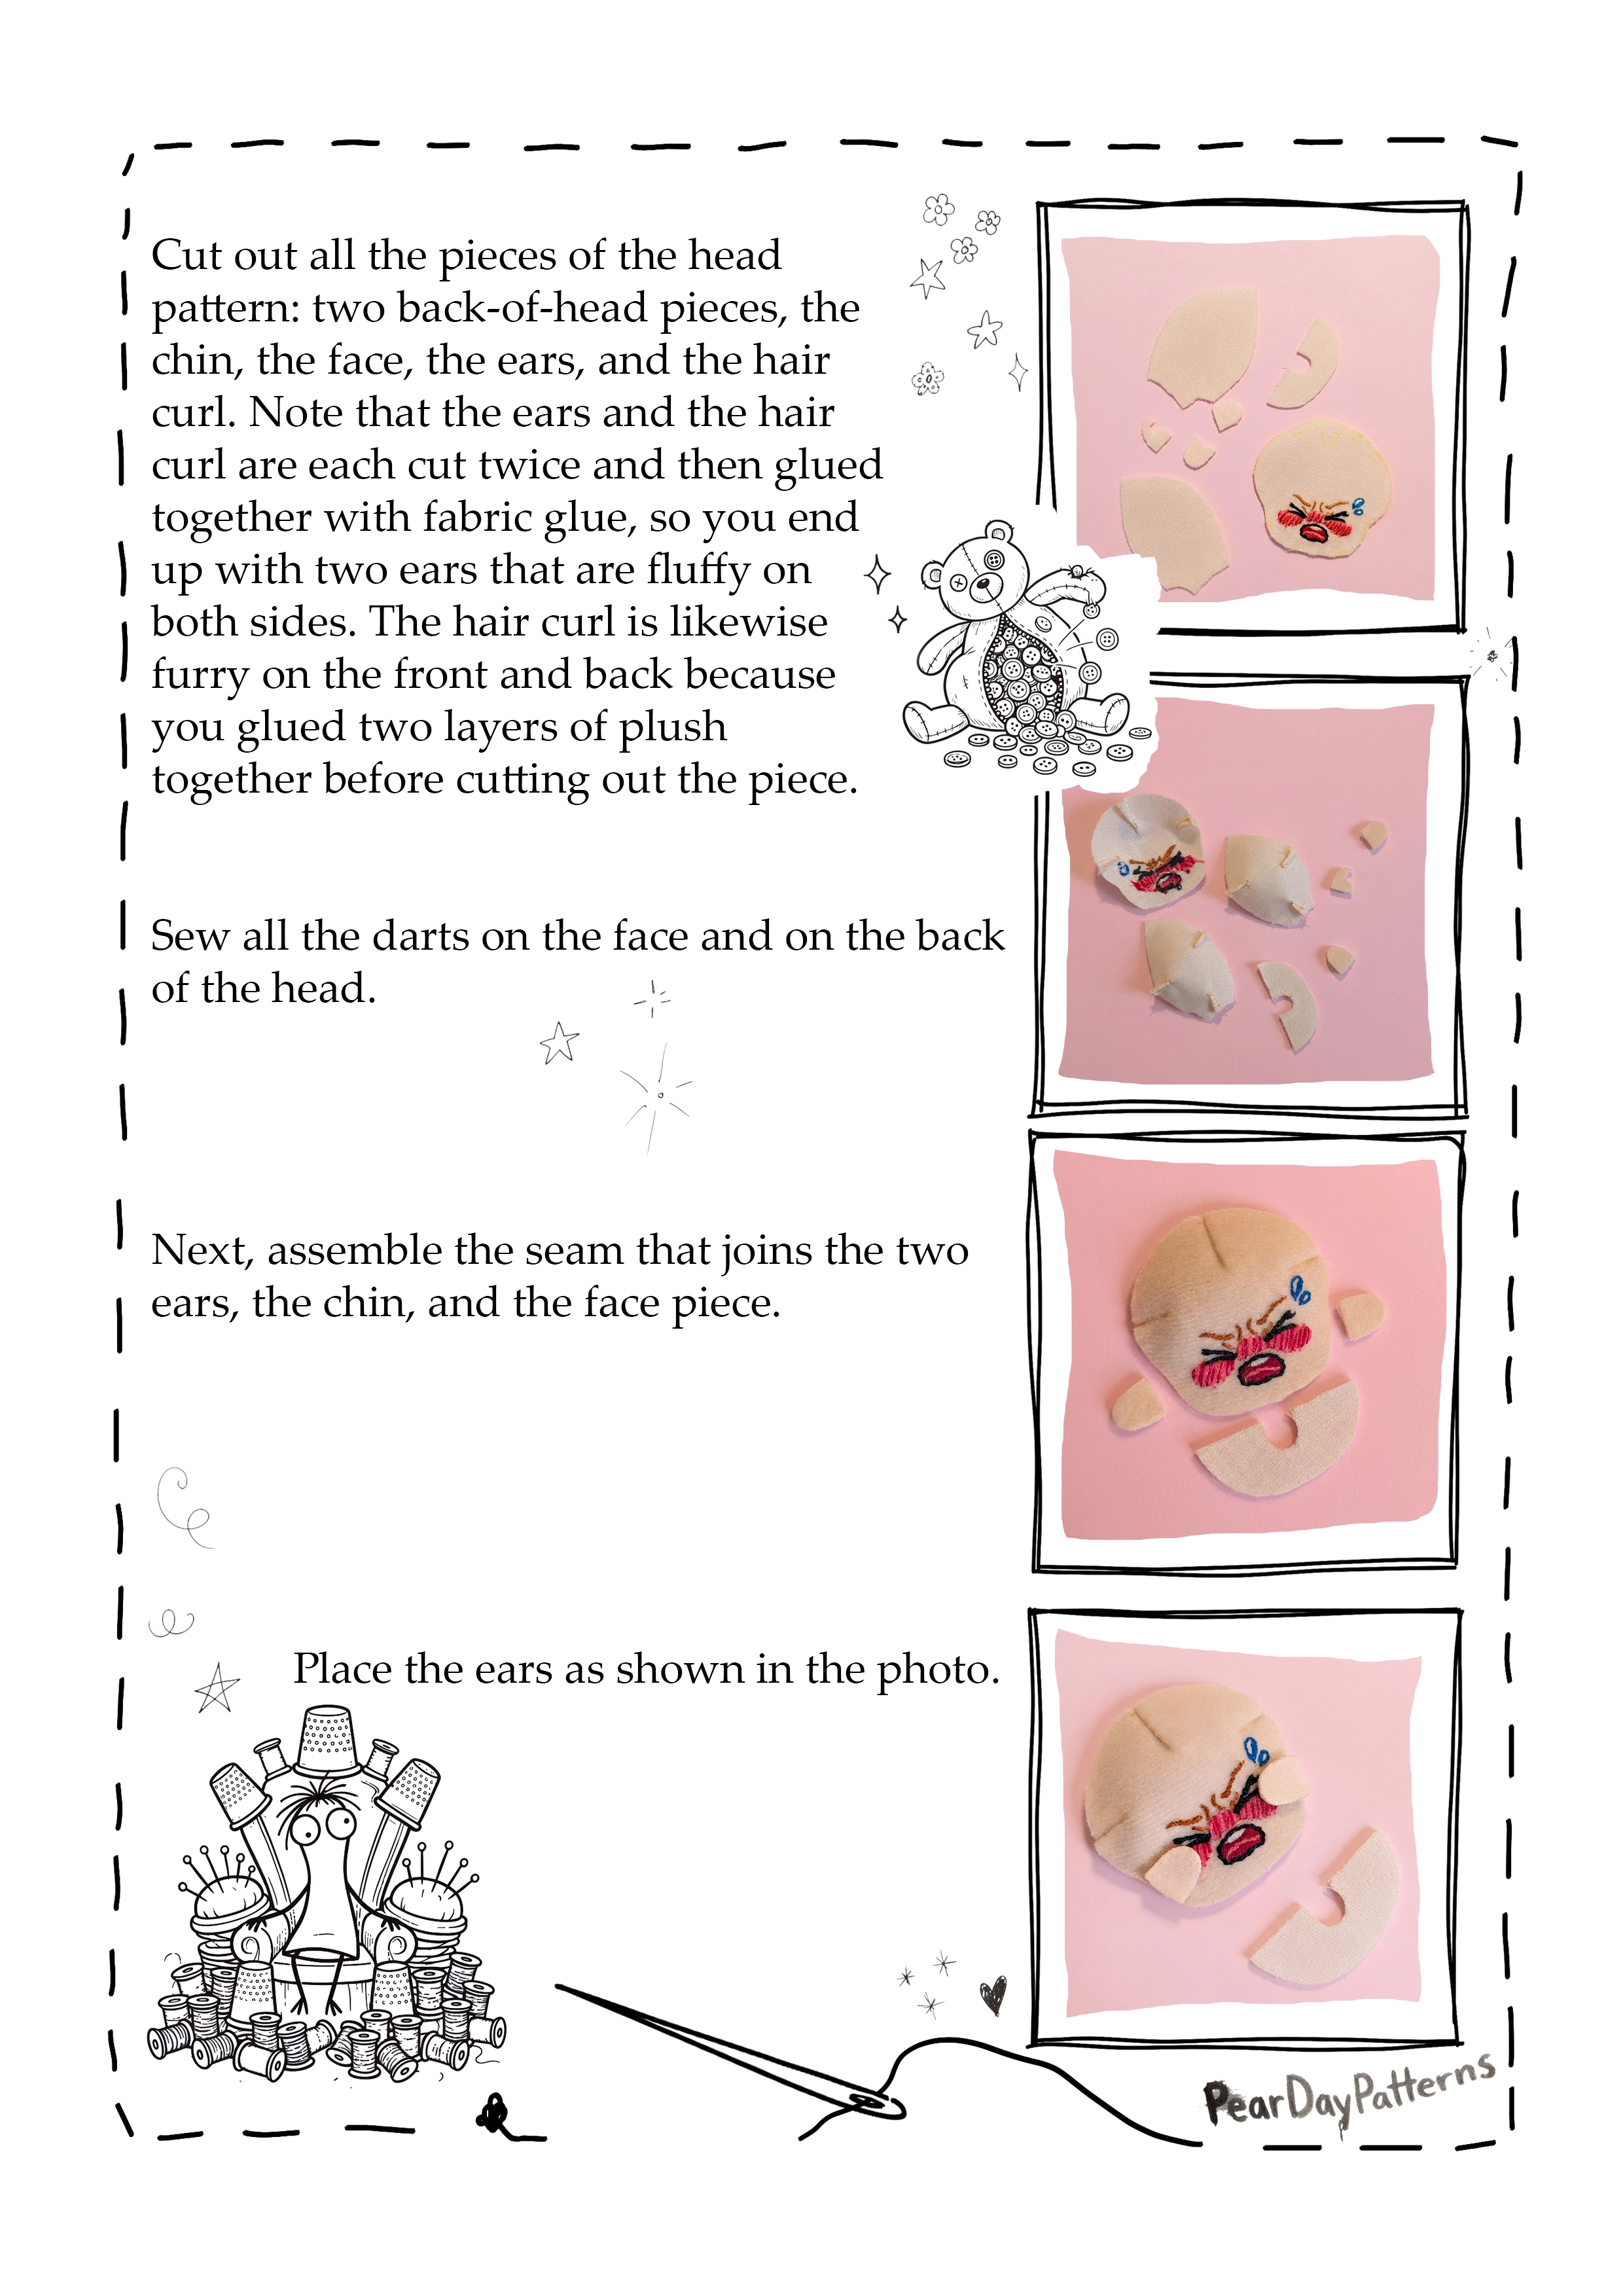
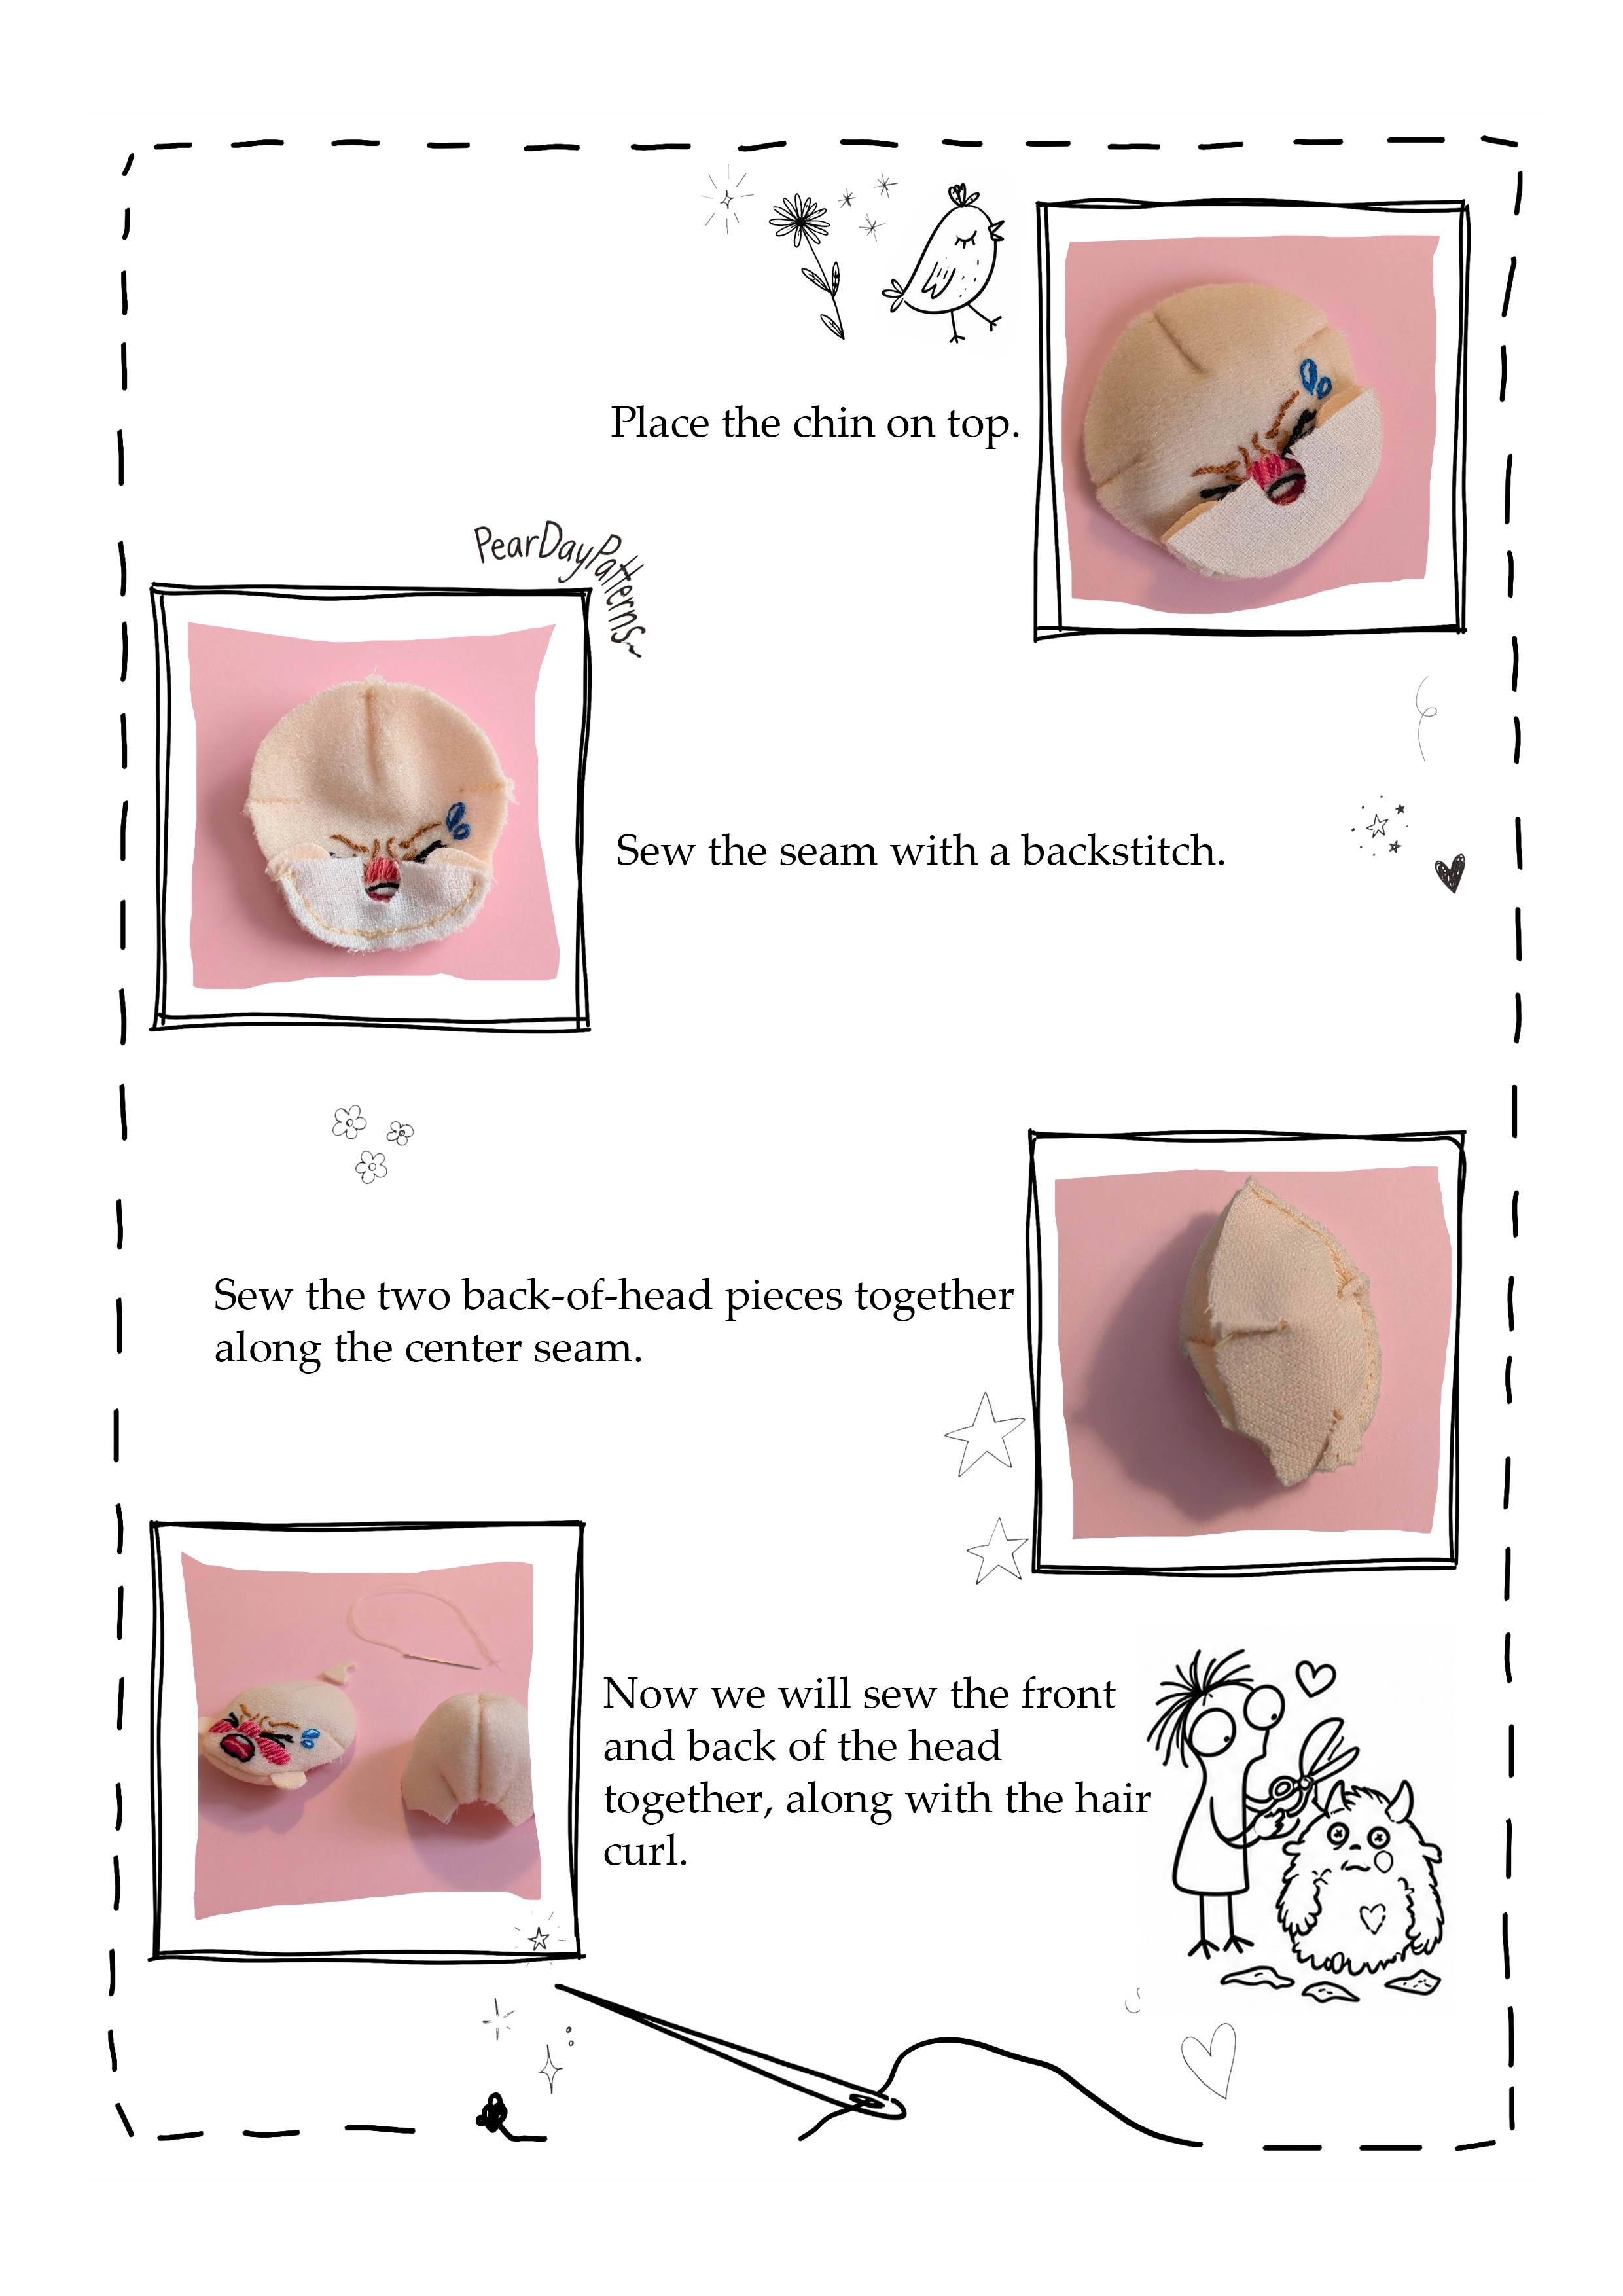
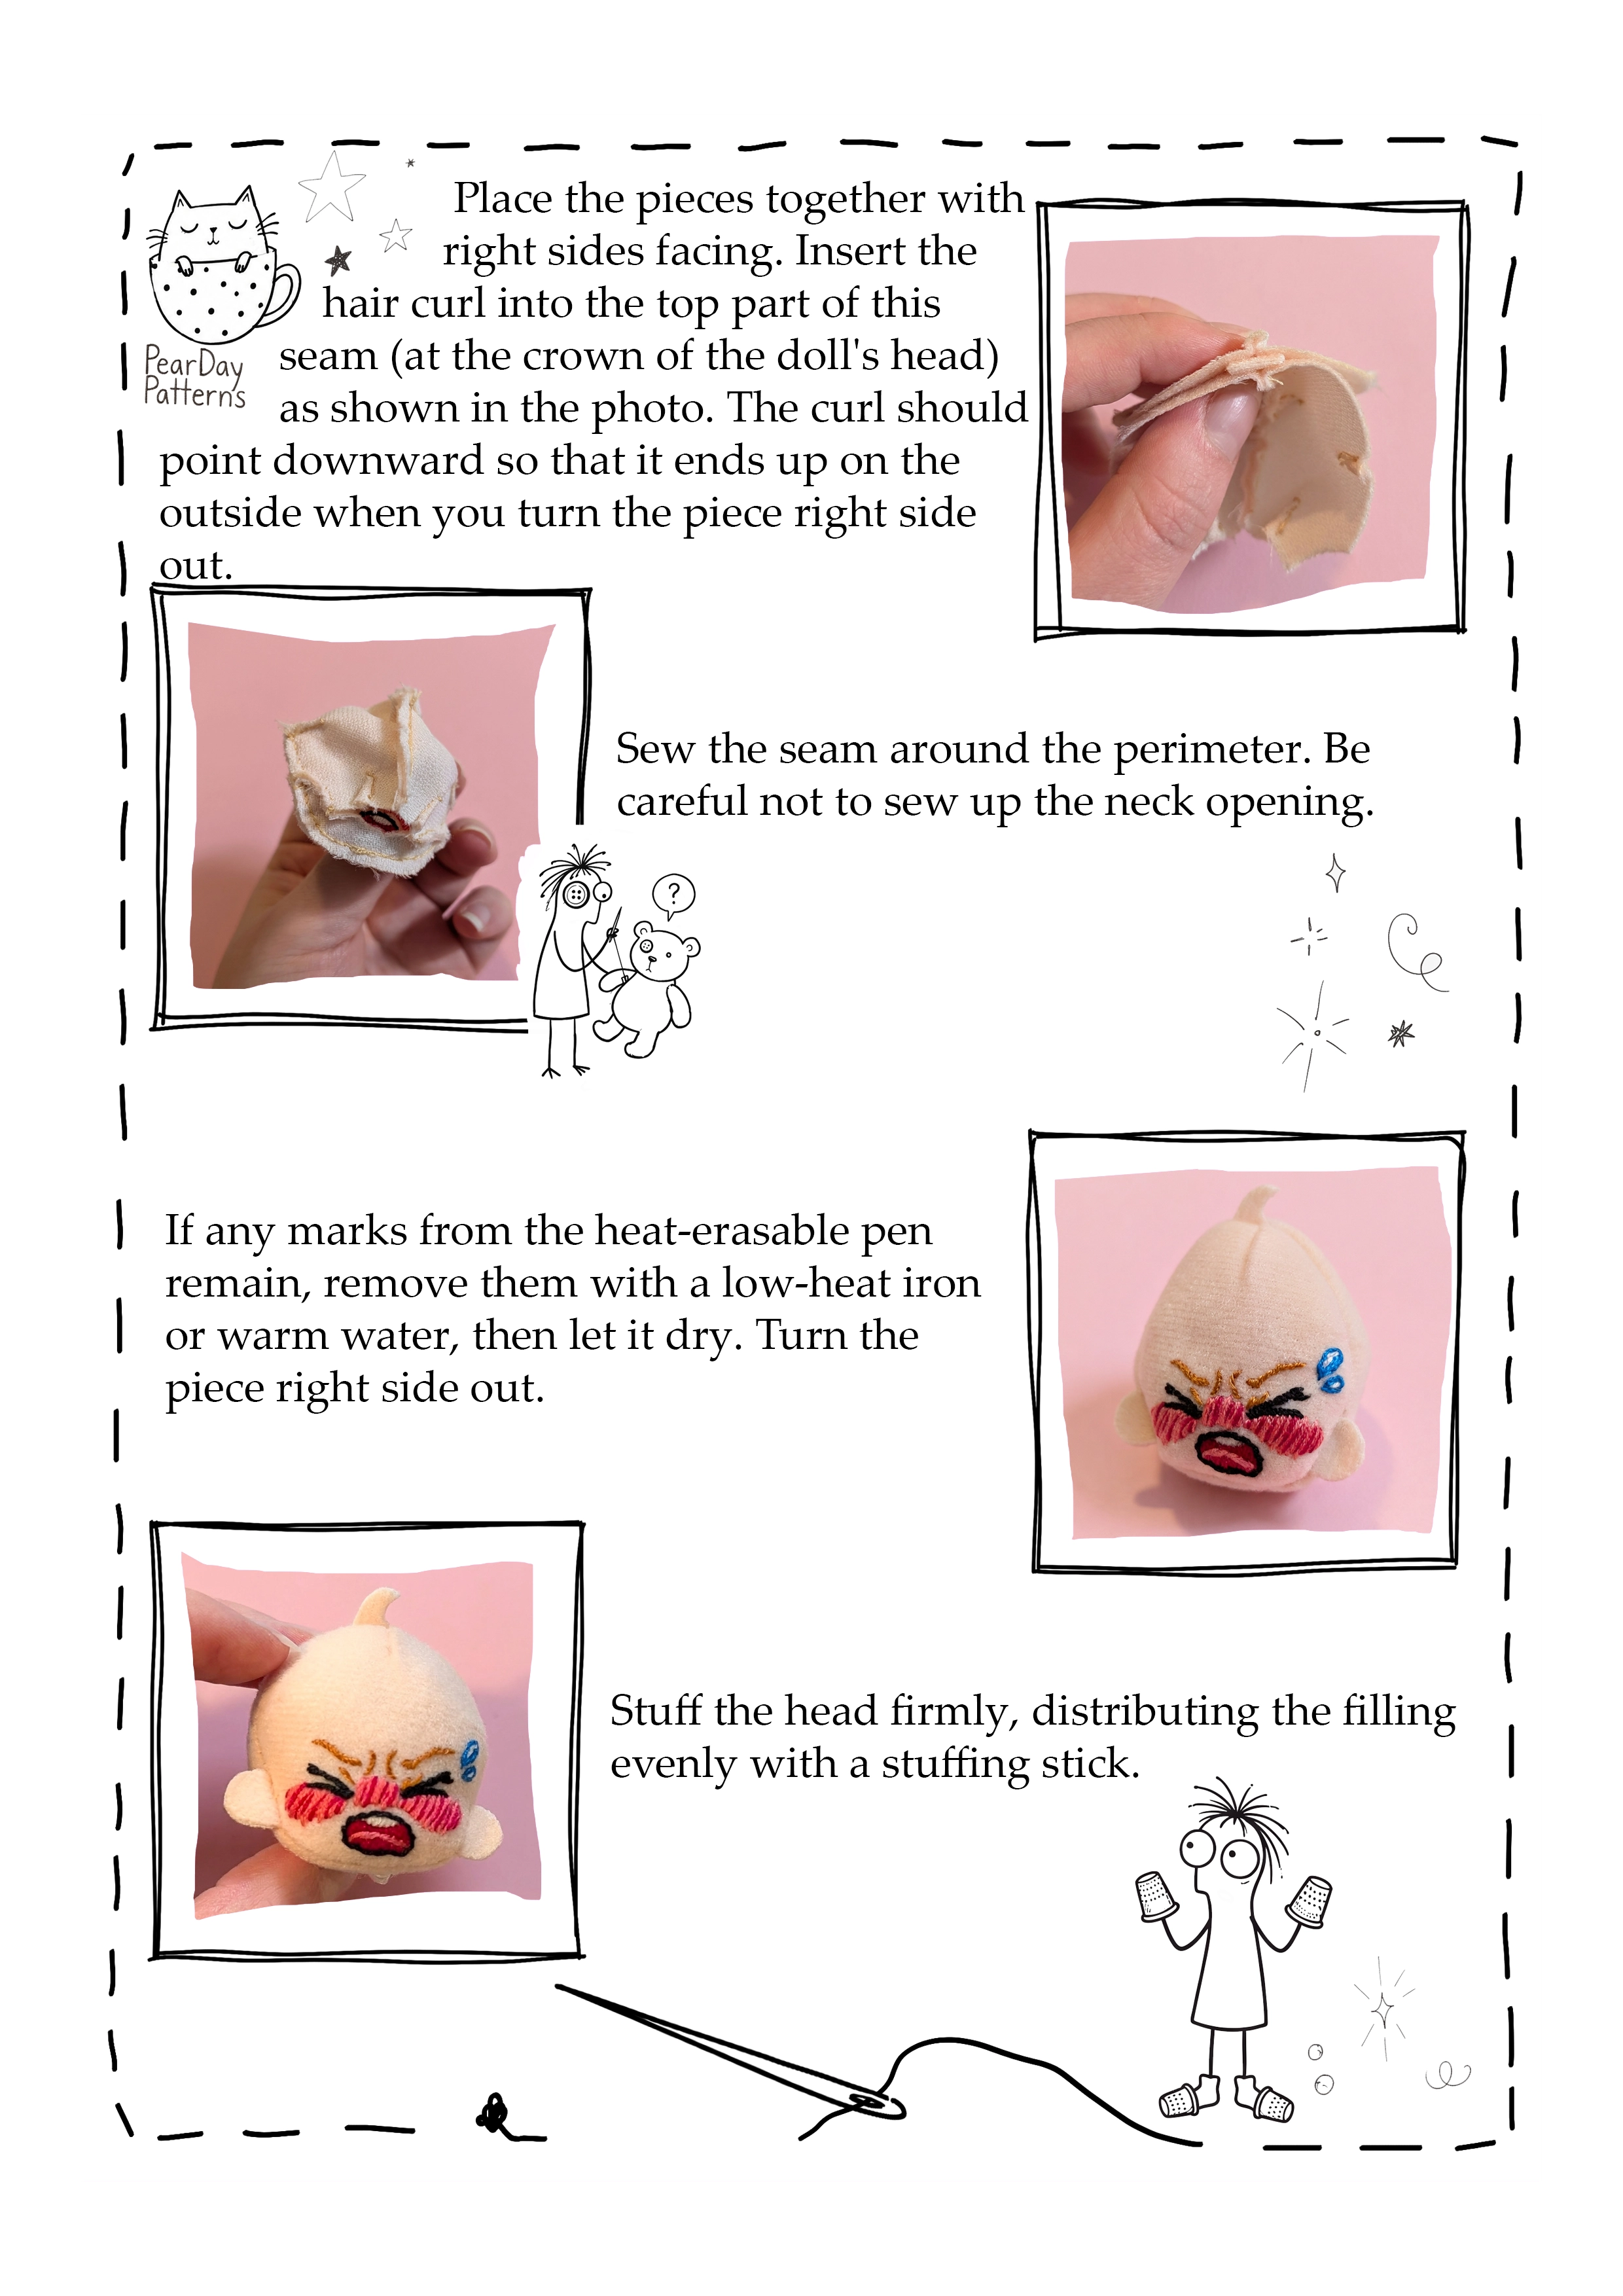
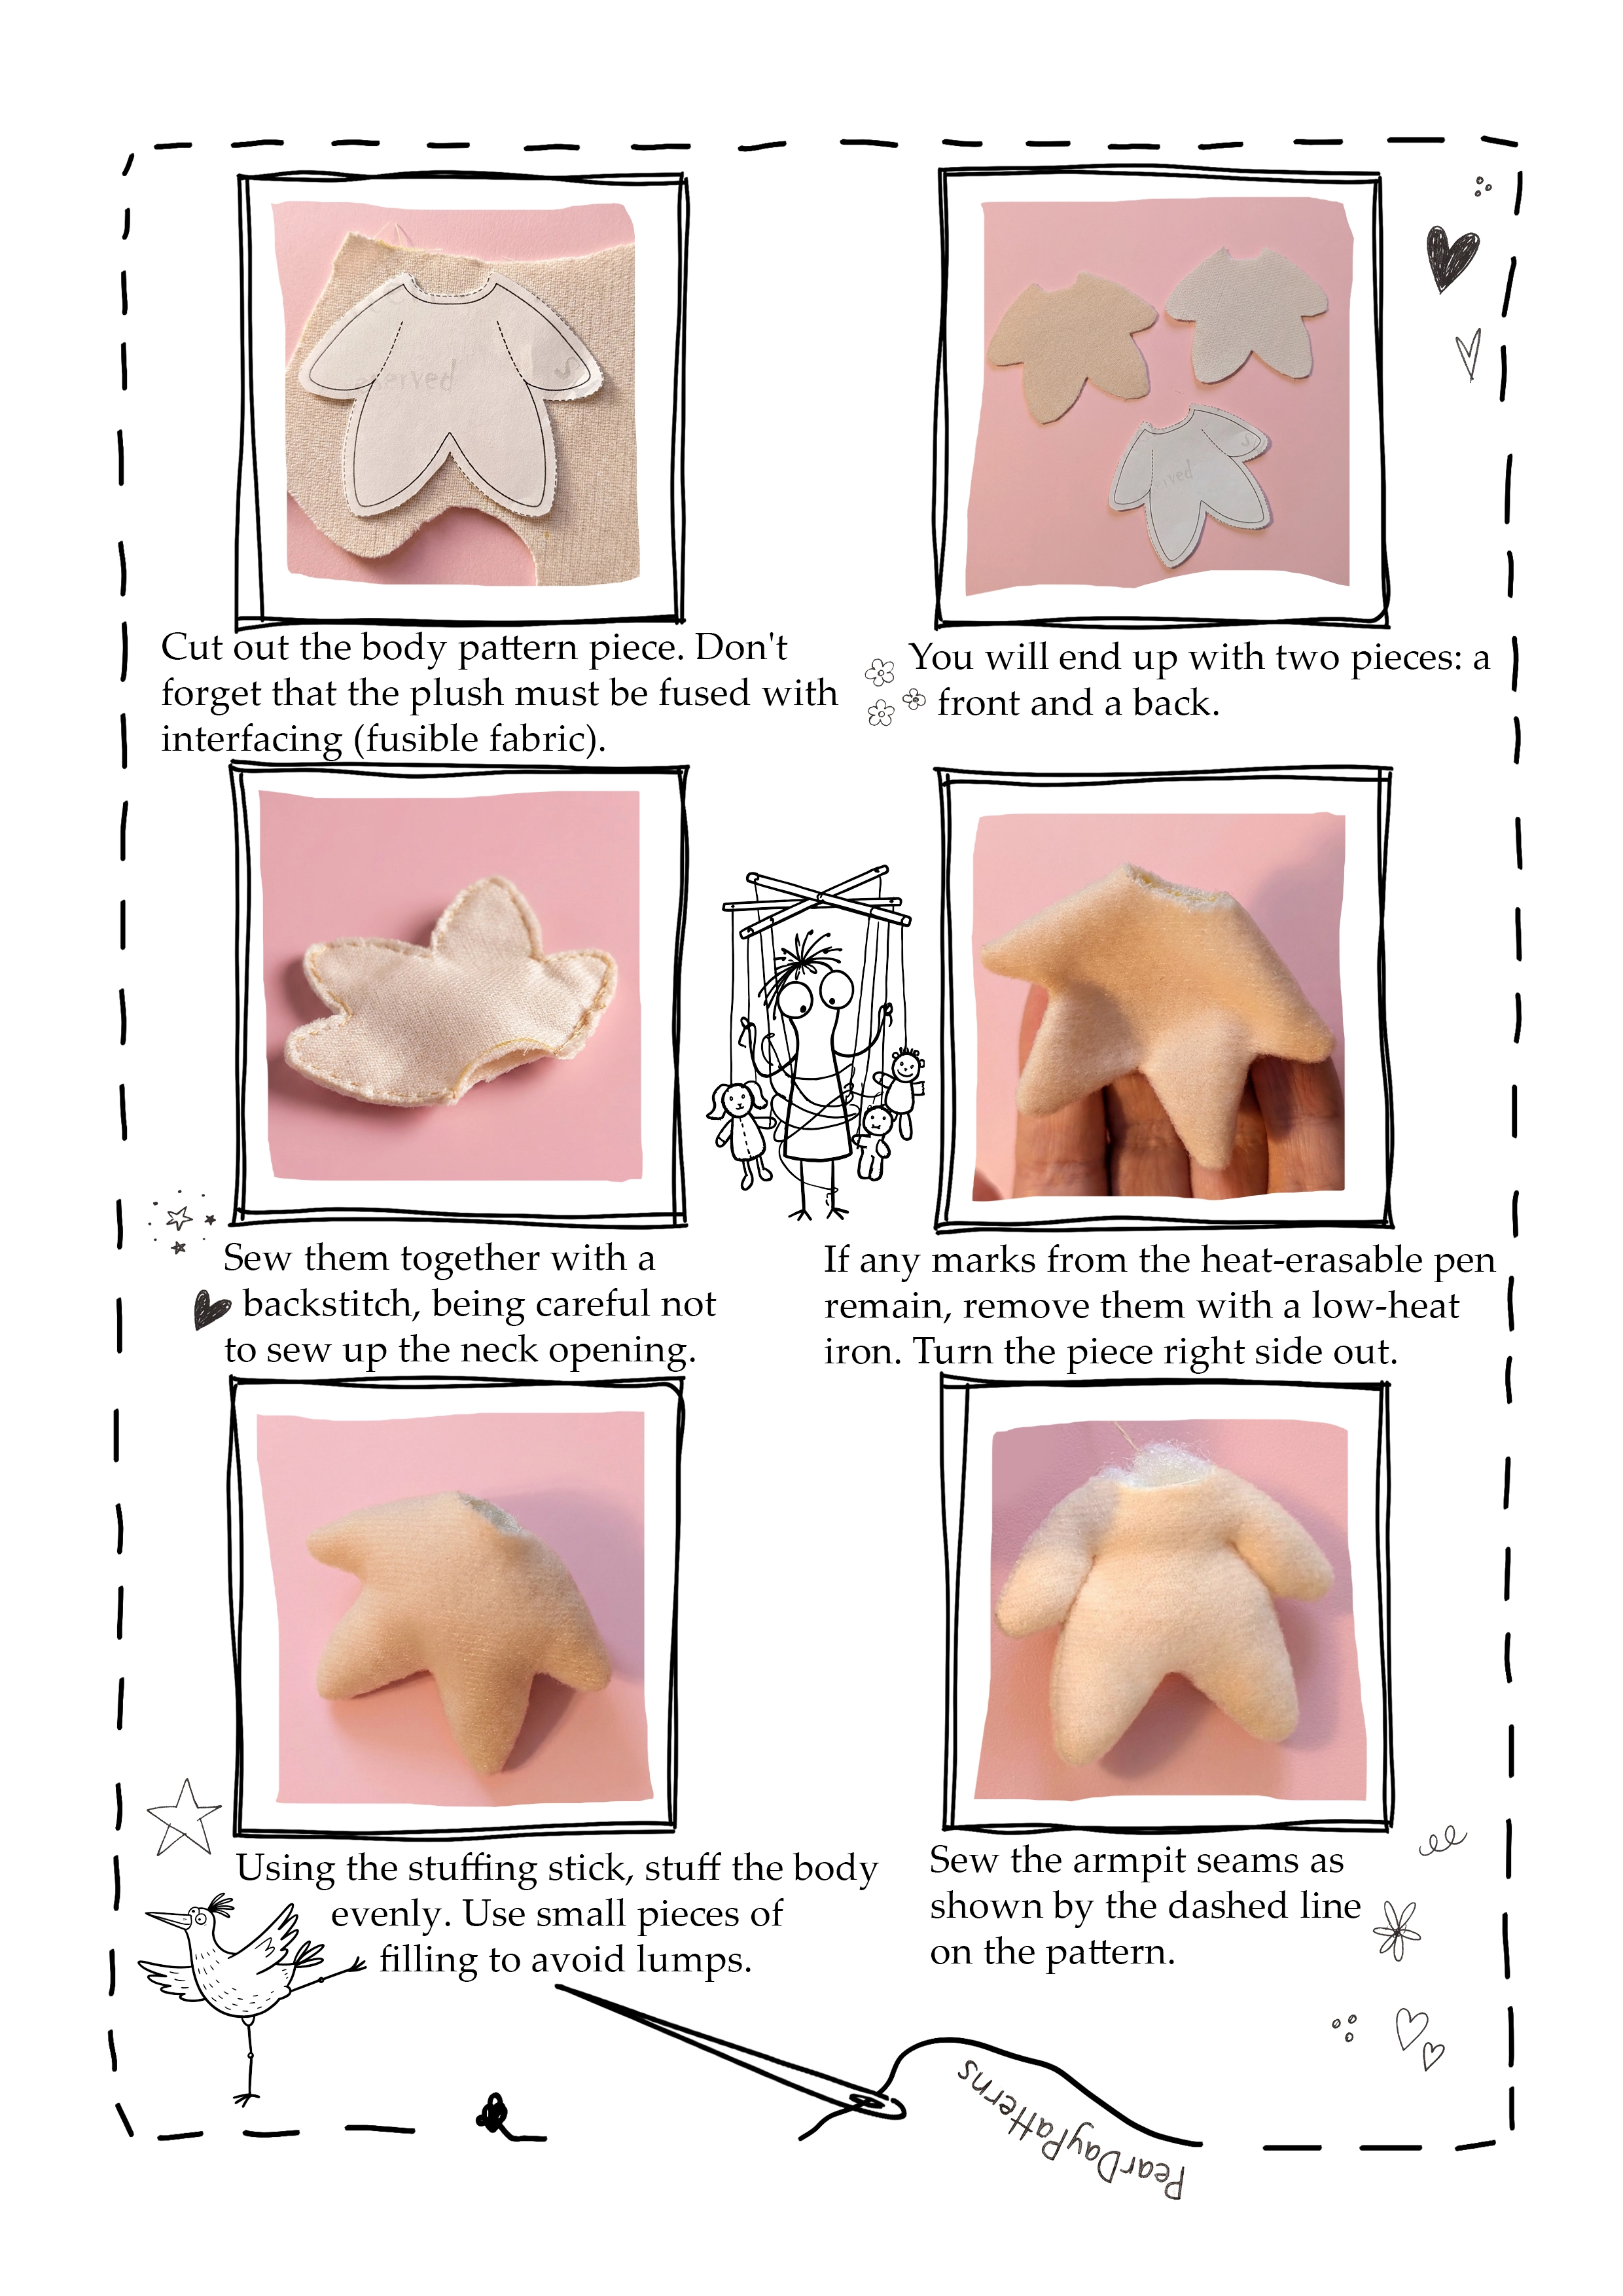
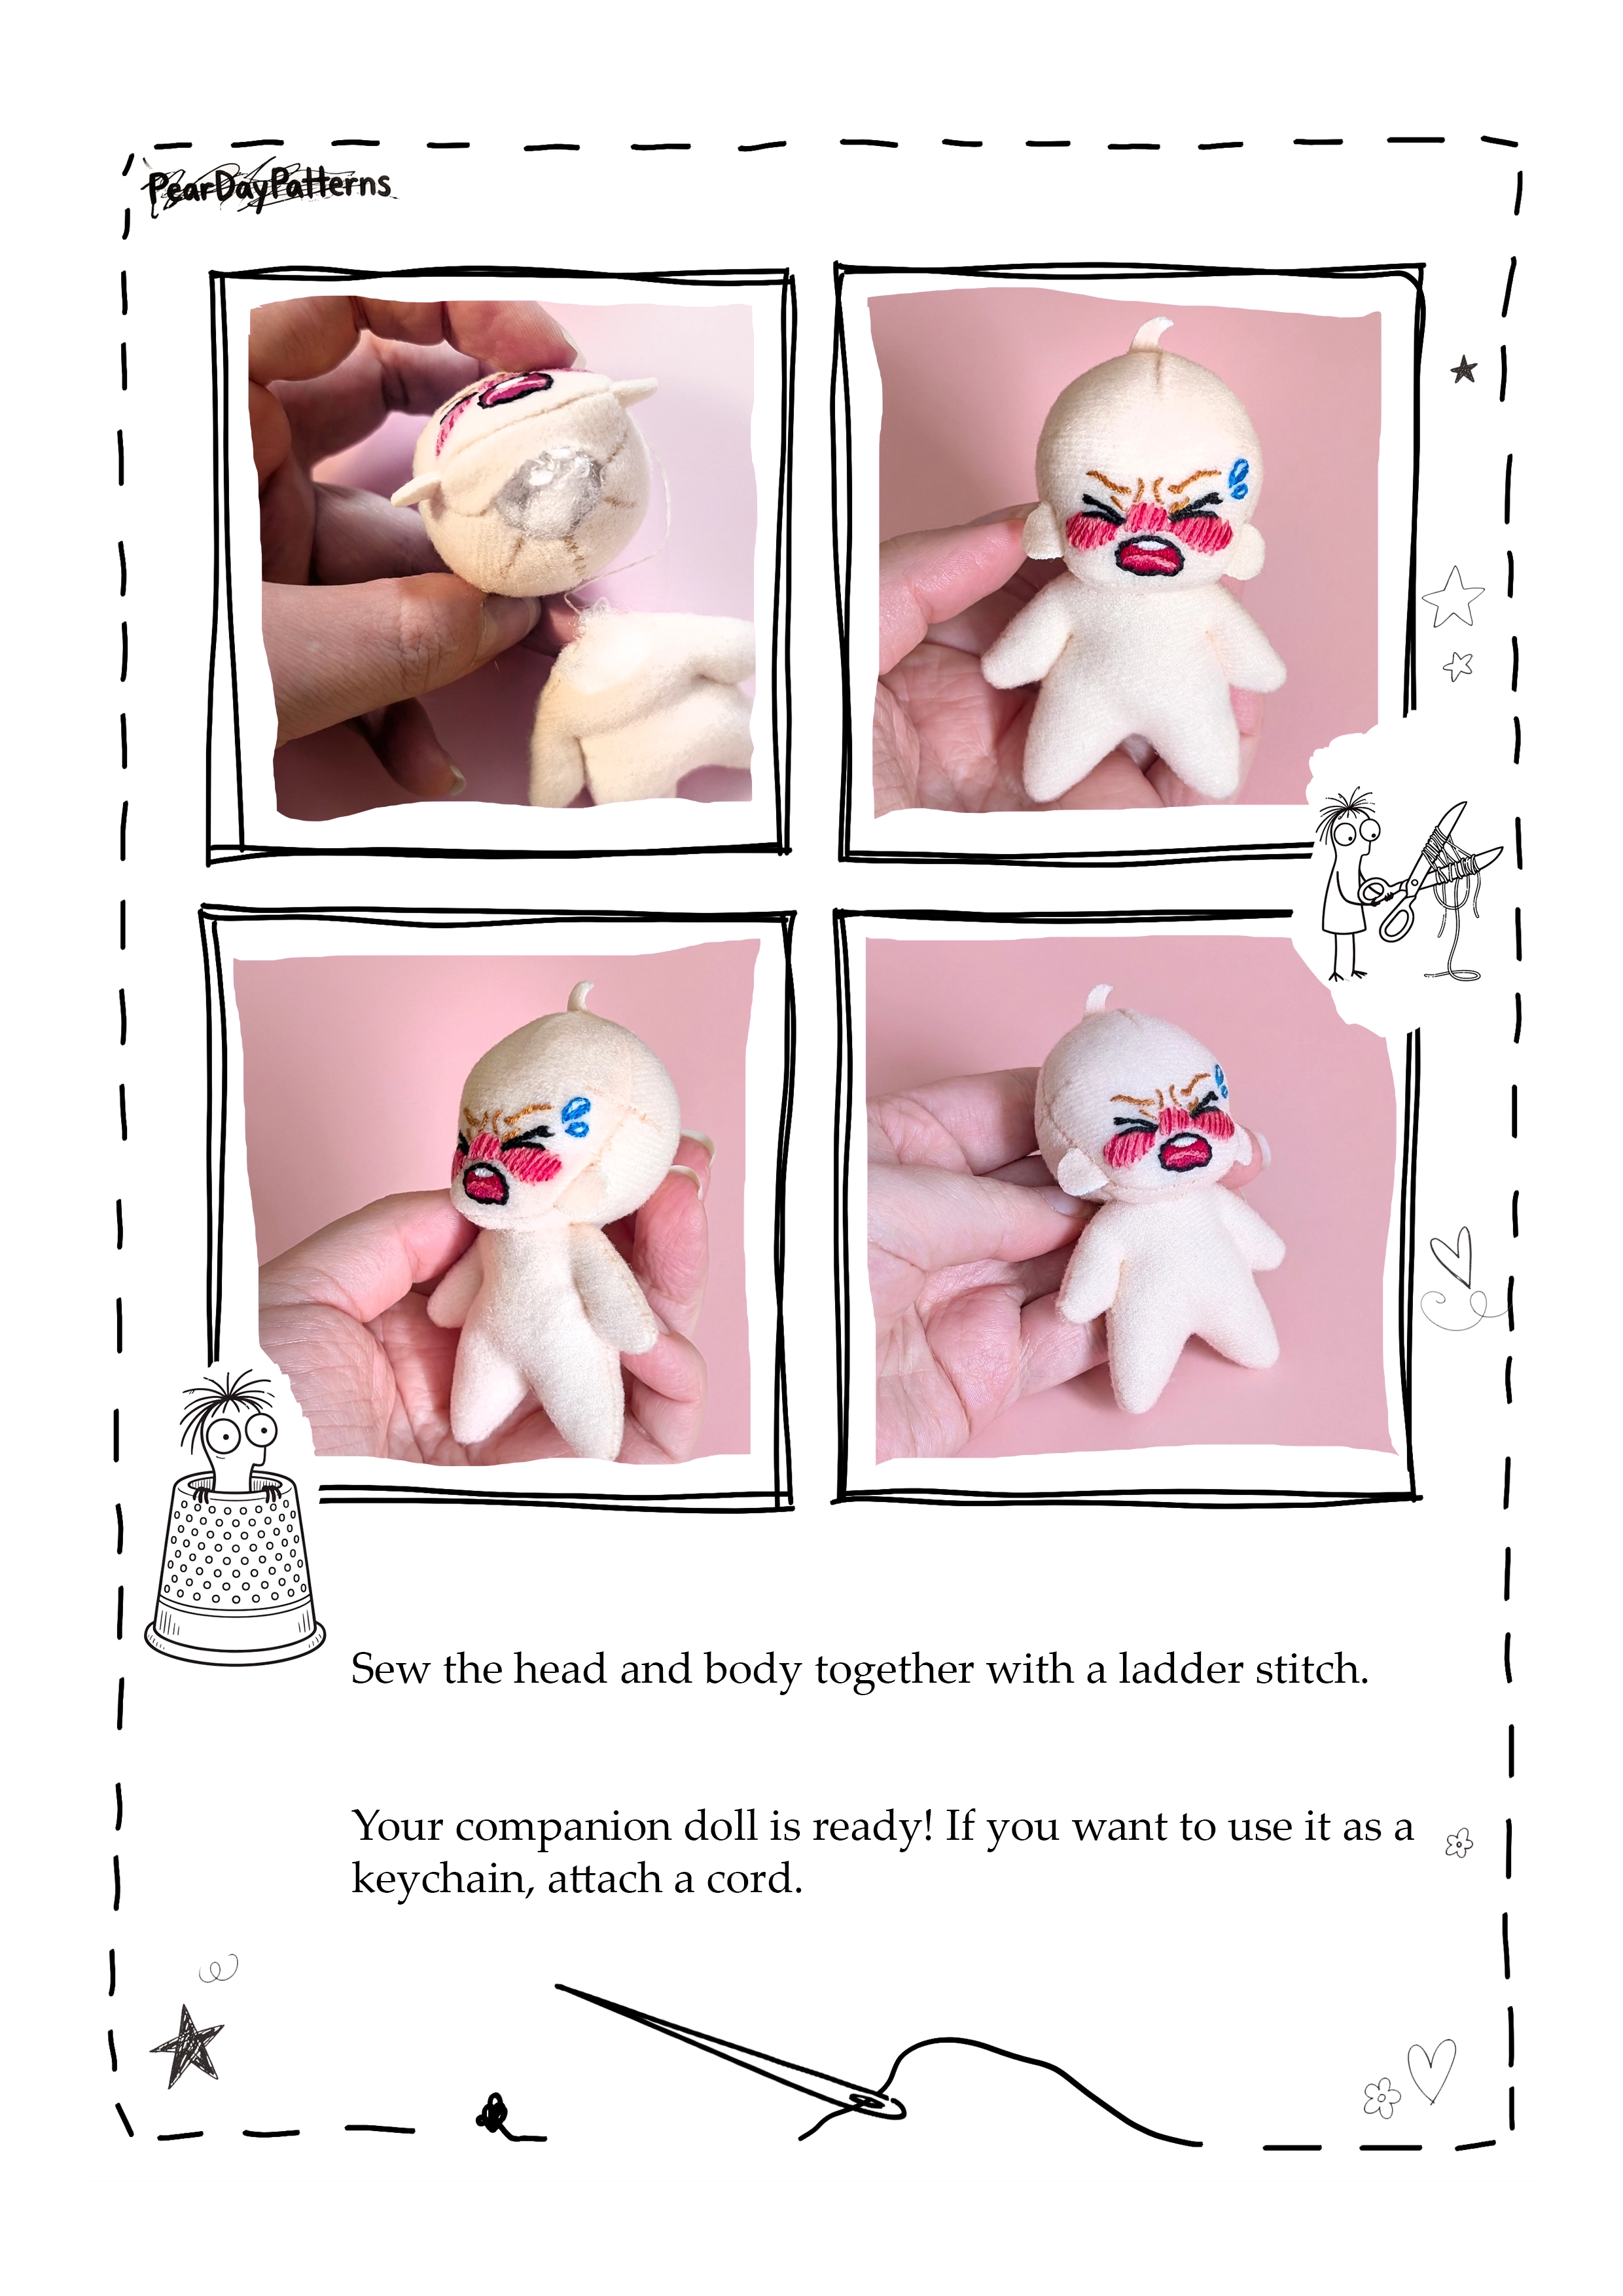
Print the pattern-pieces page on A4 paper at 100% / actual size, with “Fit to page” turned off. Measure the 1 cm and 1 inch test squares before cutting. Follow the illustrated instructions below or in the PDF to sew your doll.
You may also like
Step by step tutorial